Shortcuts
- Home ›
- Using NimGPT ›
- Shortcuts
Shortcuts
Shortcuts are reusable prompts that Nim uses to generate content. They are incredibly versatile, and can hold variables called Placeholders to make them even more reusable. Their true power is unleashed when chained together in Shortcut Chains, which run Shortcuts sequentially.
For example, you could create a shortcut that generates a list of keywords for any topic. By replacing the topic with a Placeholder, you can use the same shortcut to generate a variable of keyword lists.
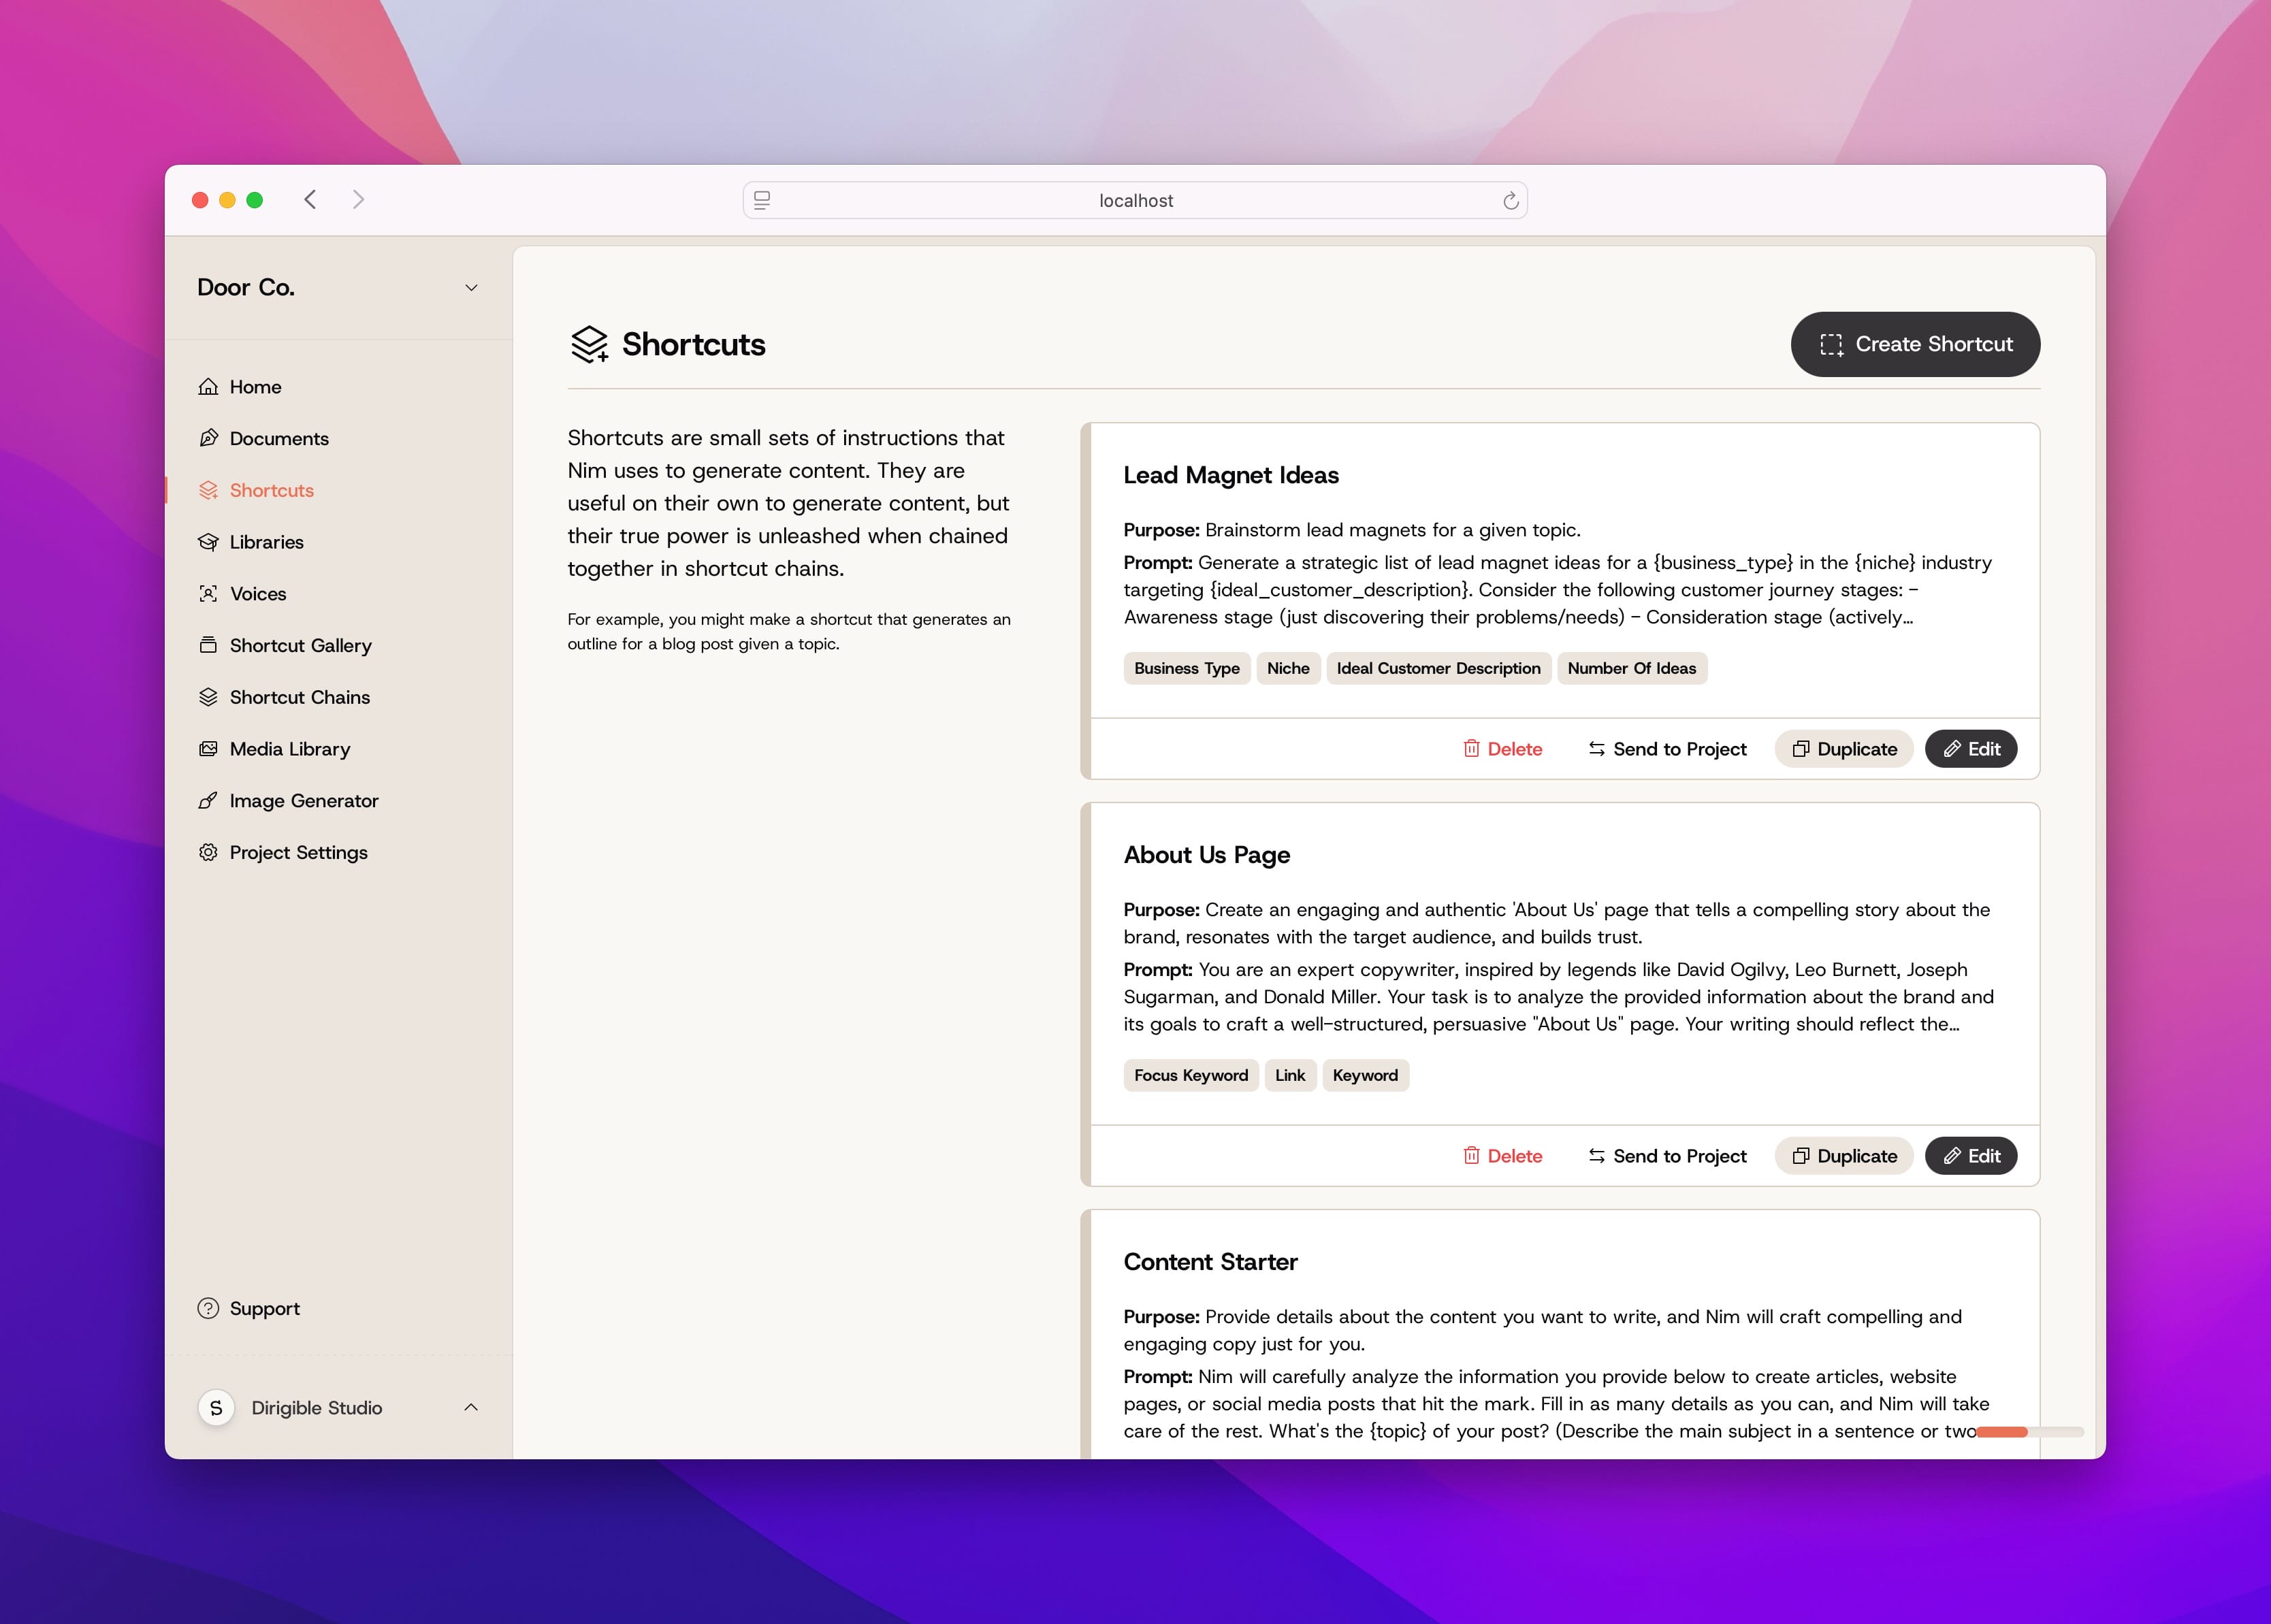
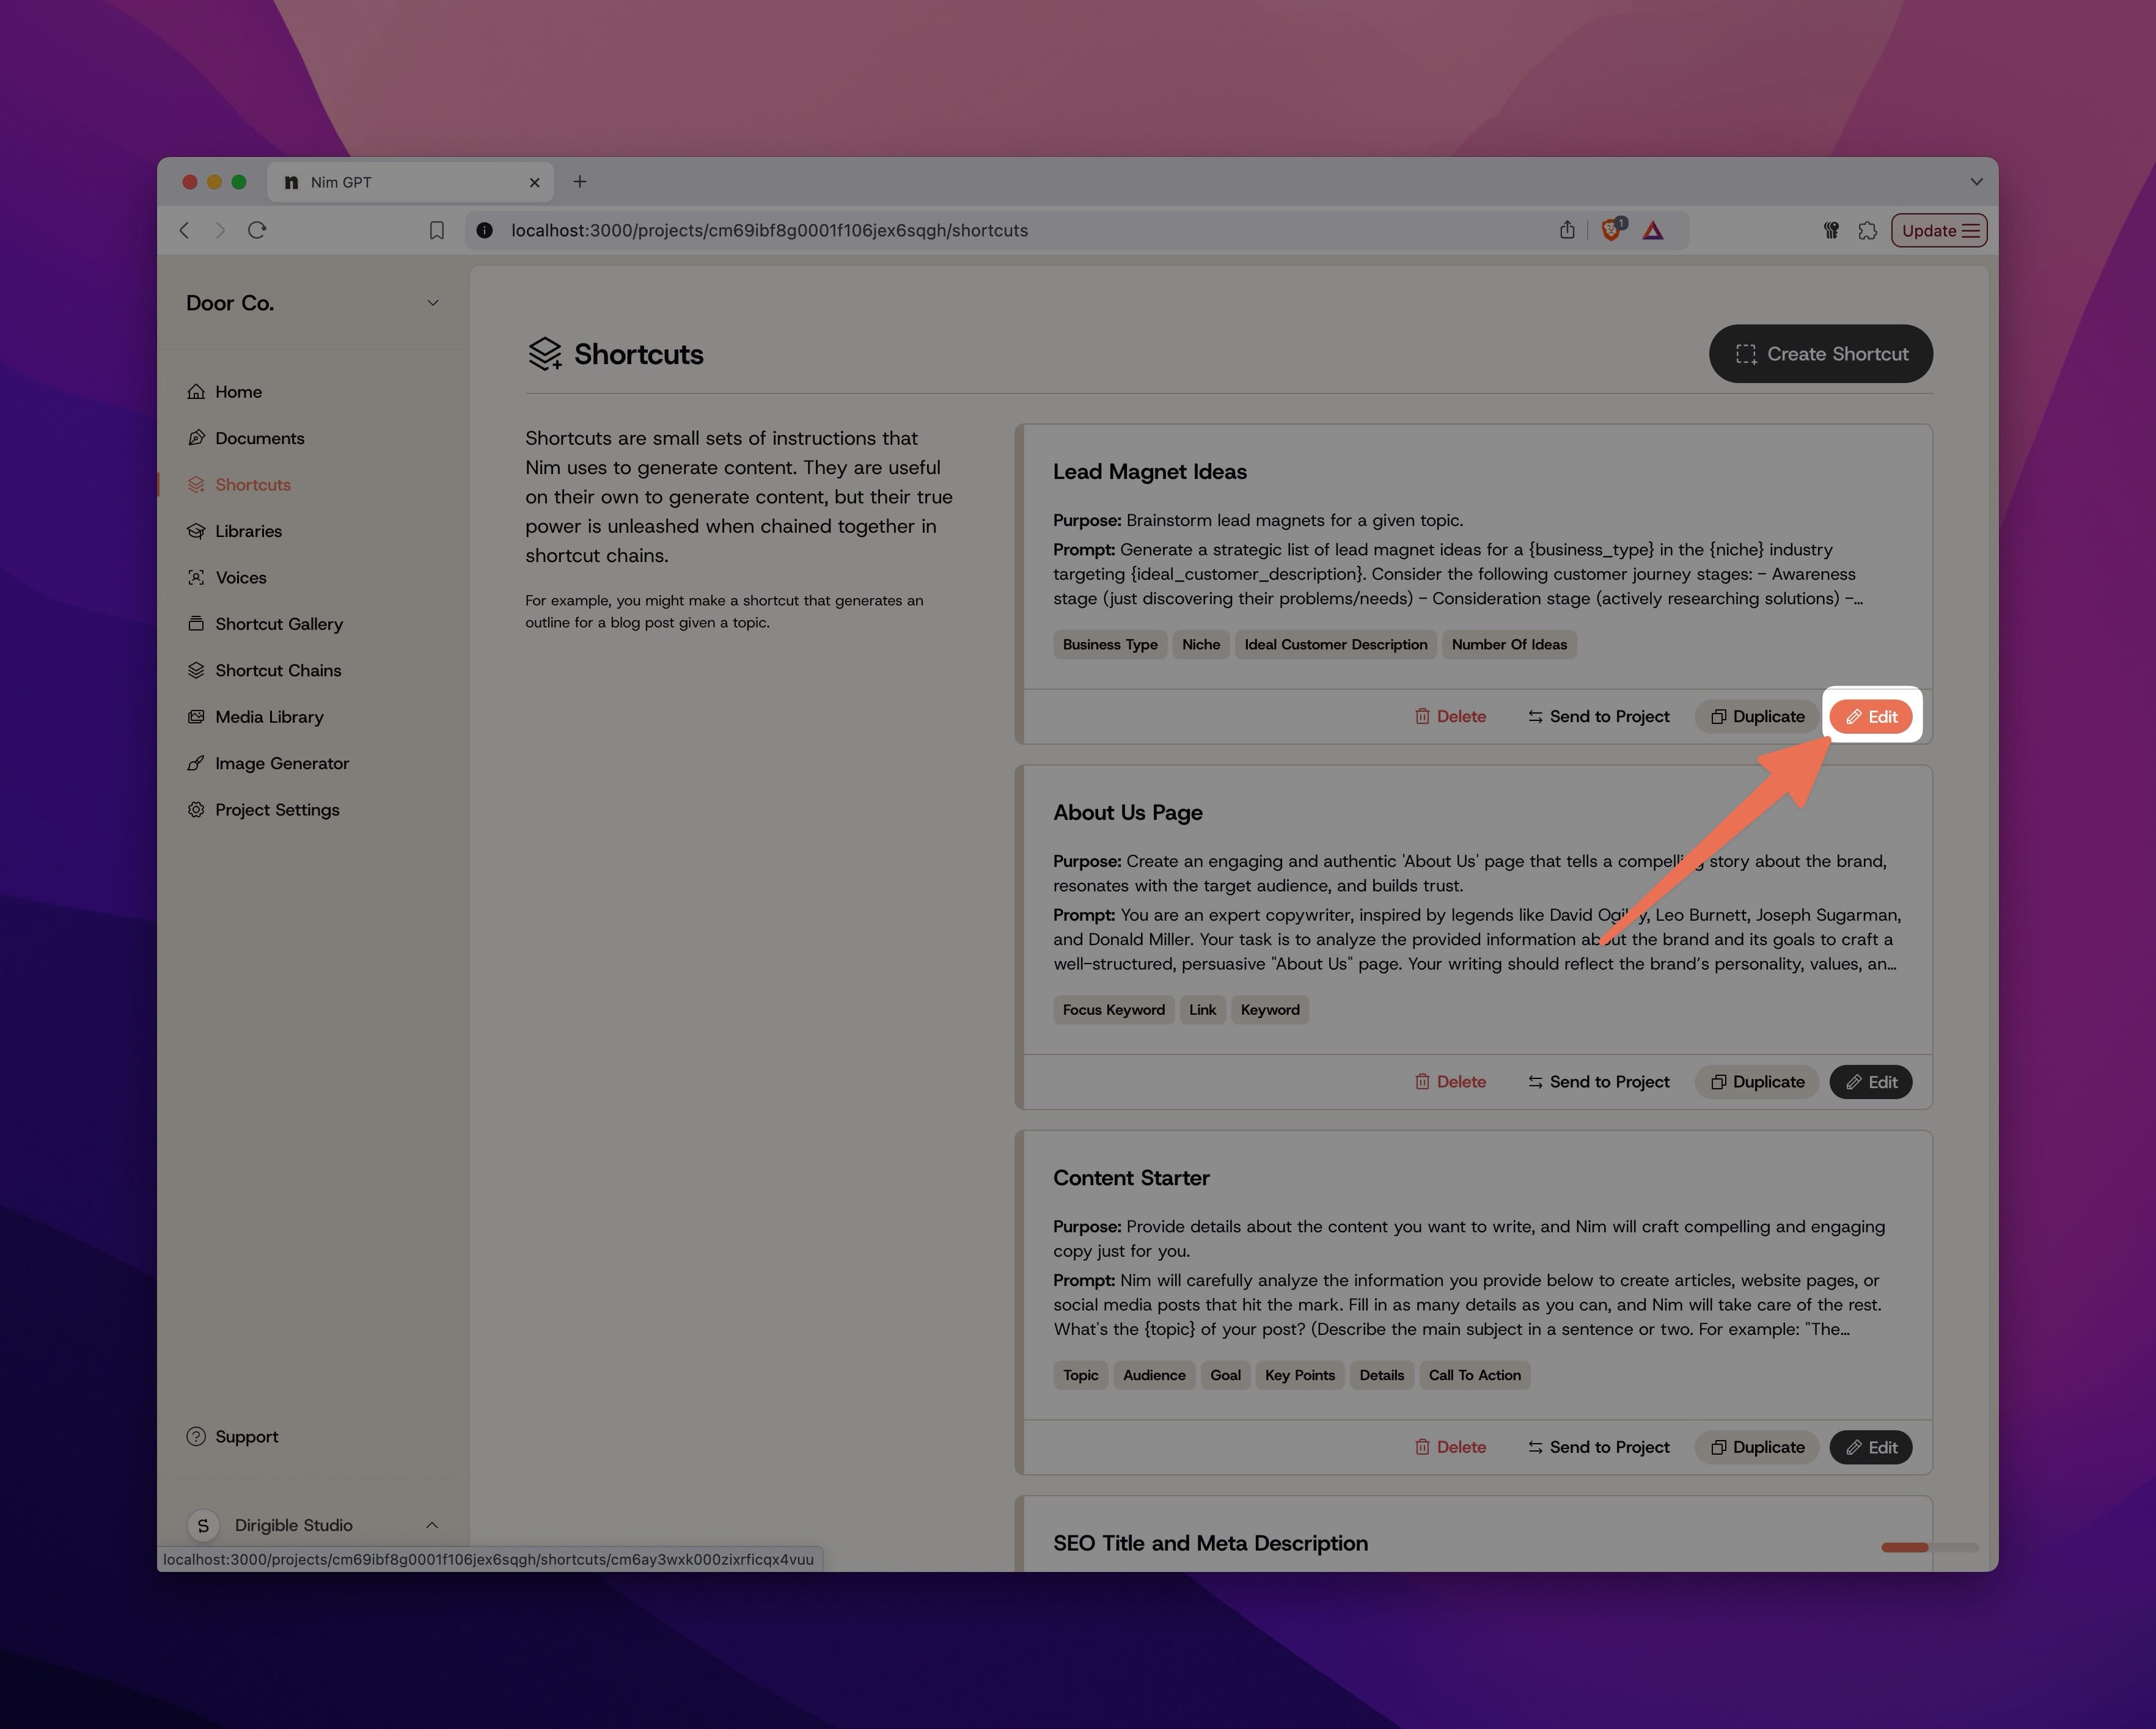
When you navigate to the Shortcuts page of your NimGPT dashboard, you’ll see a list of all the shortcuts you’ve created in this project. Shortcuts are an important building block in content generation with NimGPT.
Creating Shortcuts
You can create a new shortcut by clicking the Create Shortcut action button in the top left of the main Shortcuts page or by importing a pre-made Shortcut from the Shortcut Gallery.
Creating a new Shortcut
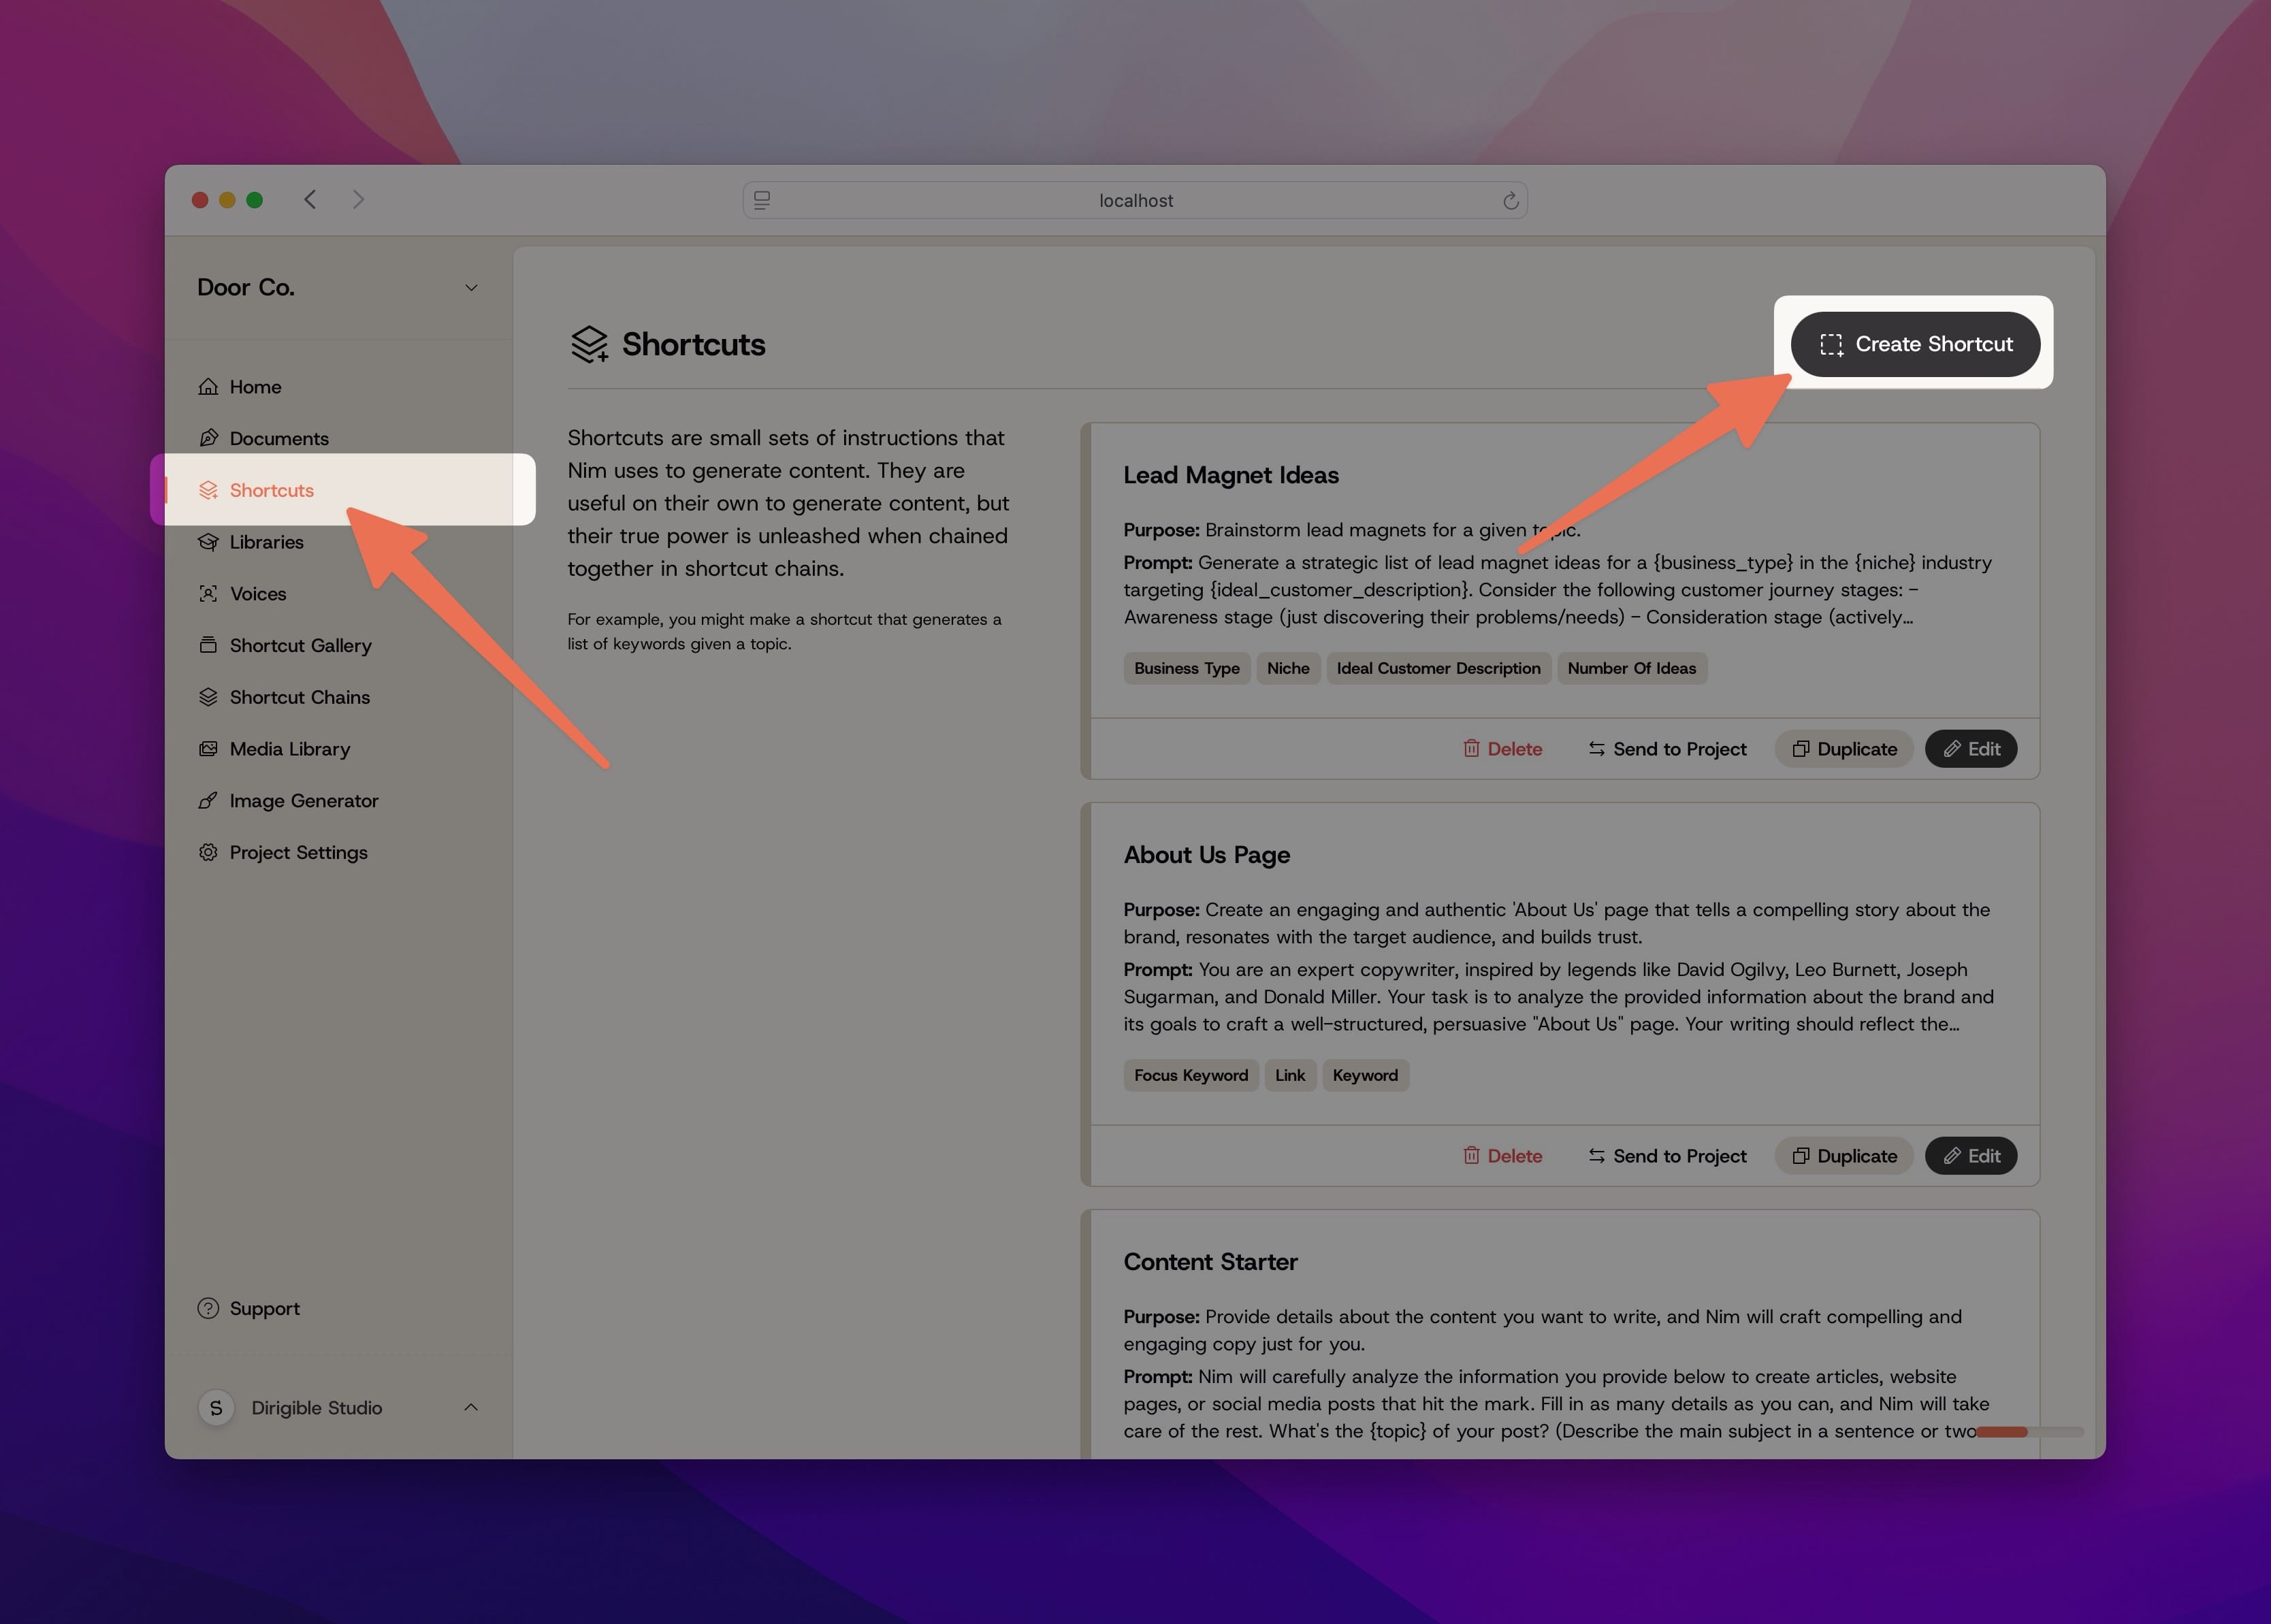
From the Shortcuts page, you can create a new Shortcut by clicking the Create Shortcut button in the upper right hand corner of the Shortcuts page, This will bring you the Shortcut generation page.
Note: When in doubt, look in the upper right corner of the NimGPT dashboard. Most actions are up there.
Importing a stock Shortcut
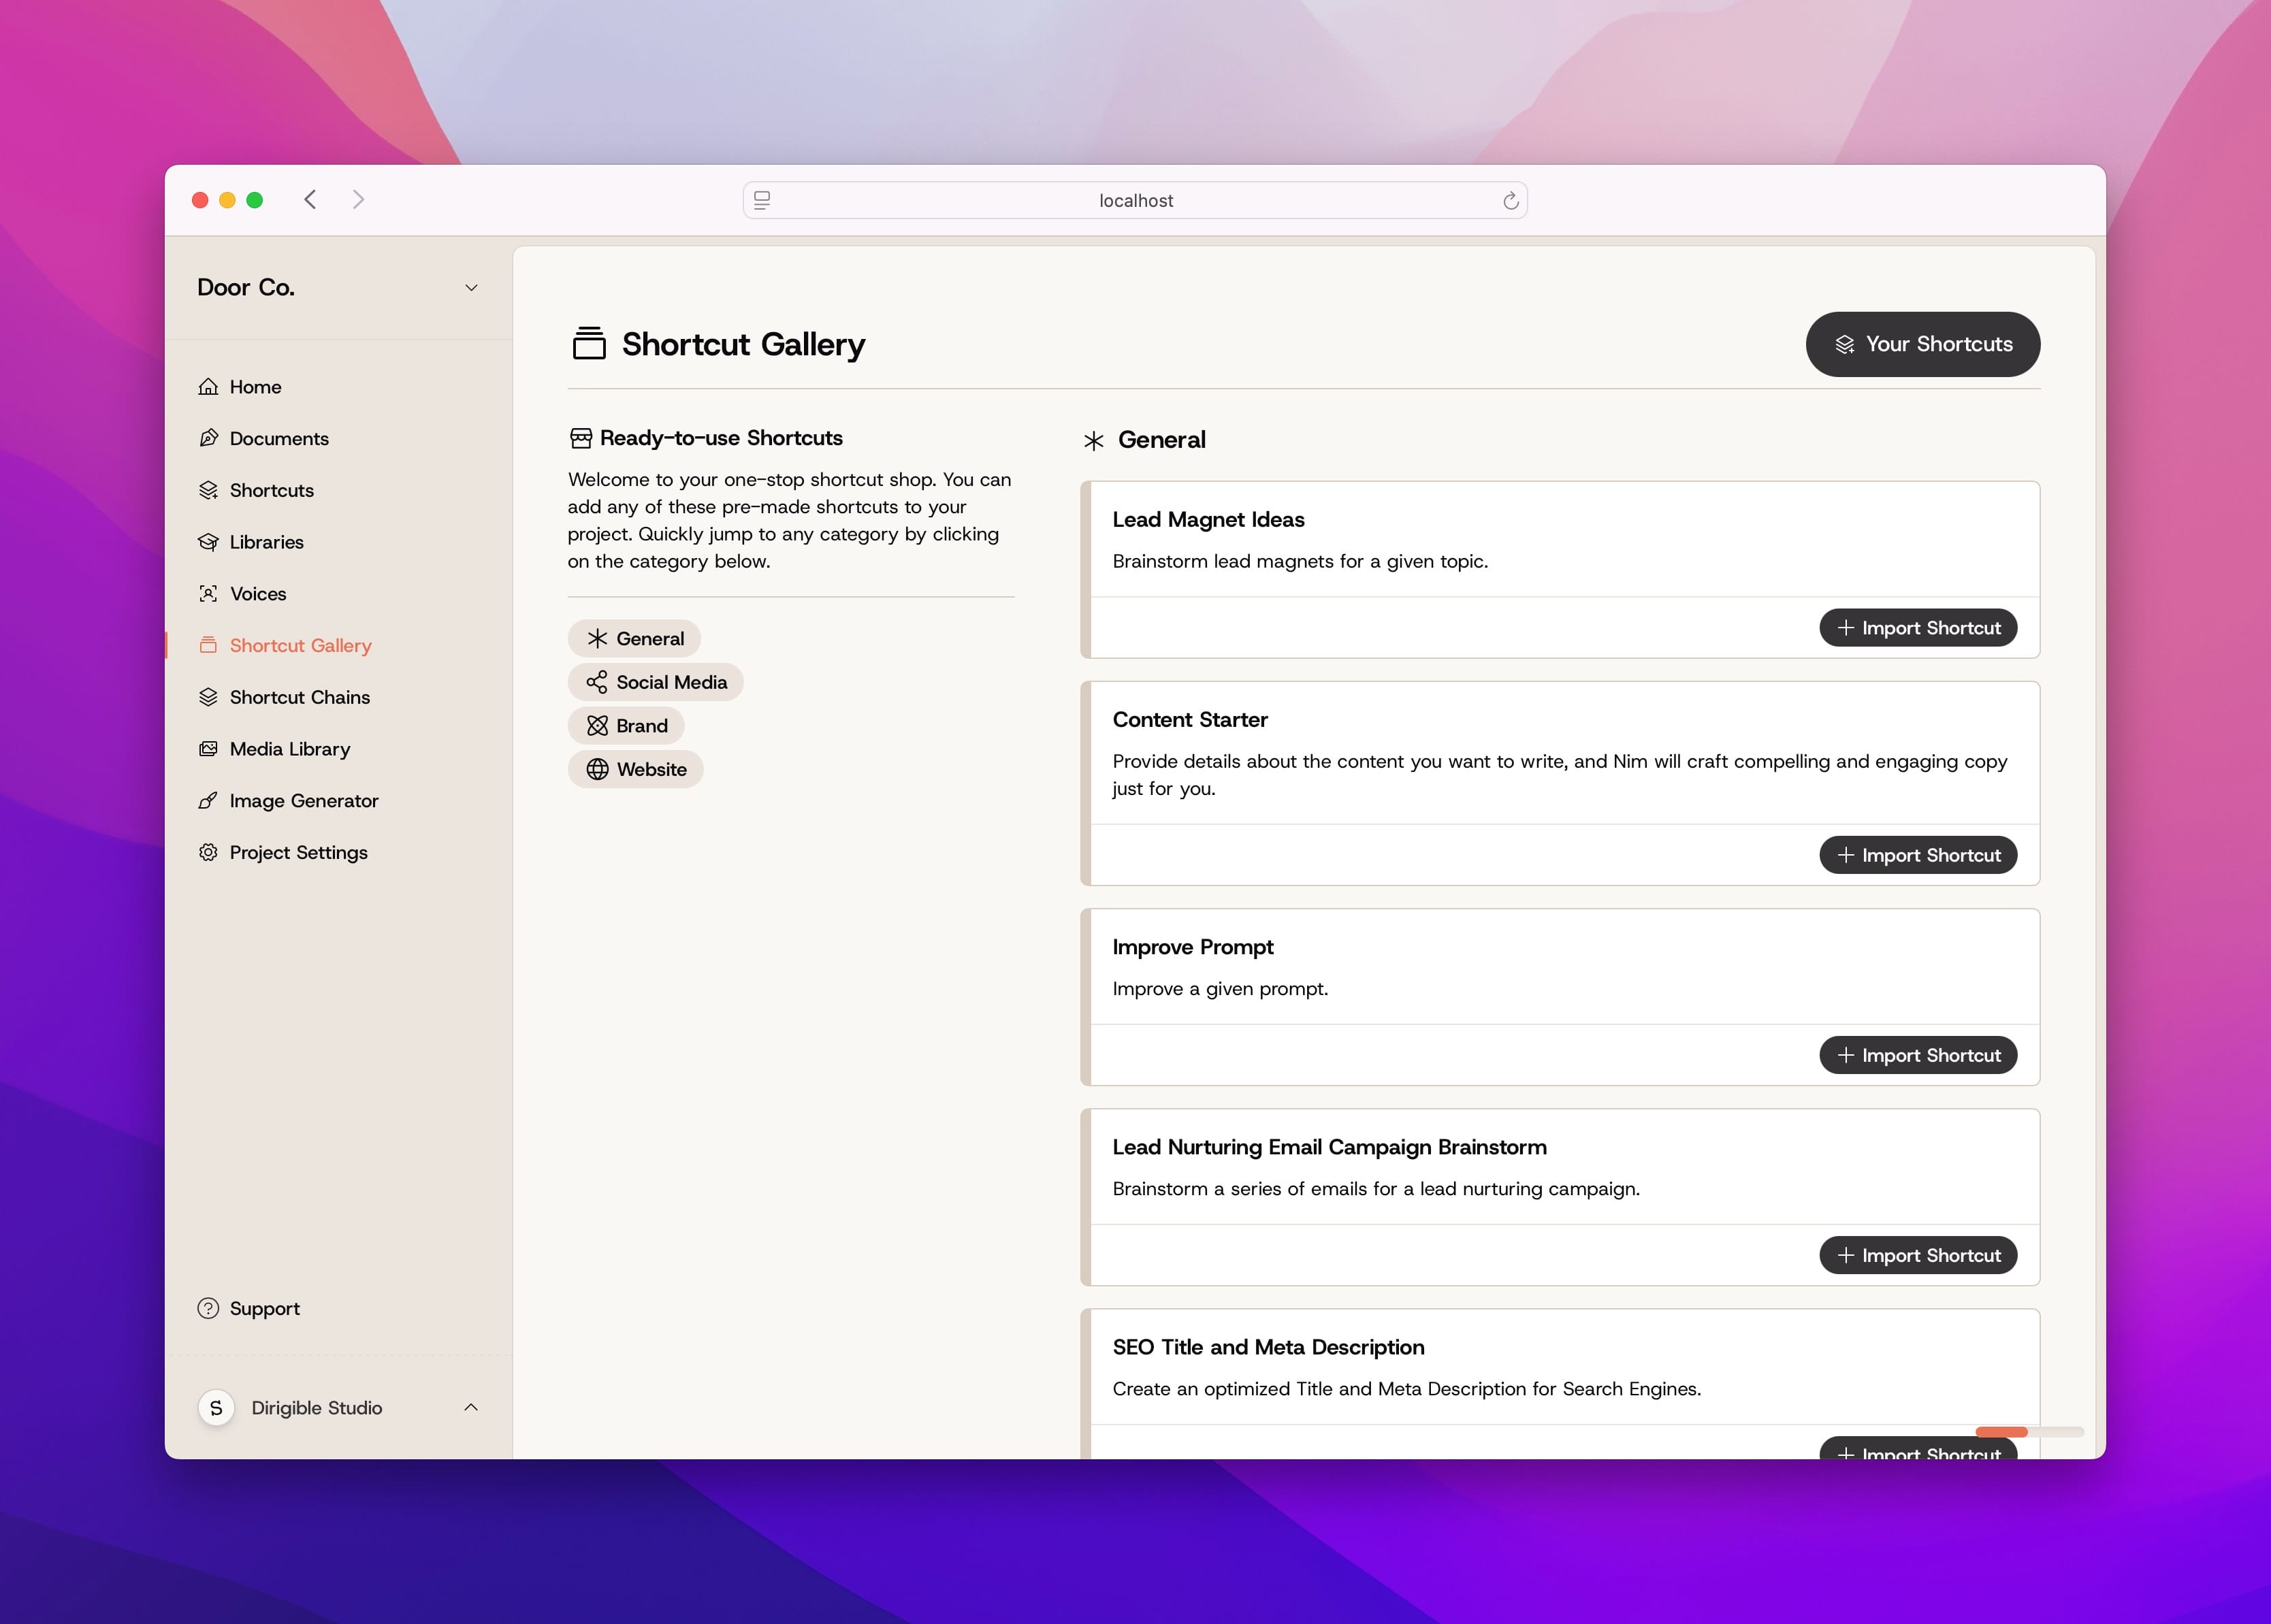
Alternatively, you can import a pre-made Shortcut from the Shortcut Gallery page. We’ve assembled a list of handcrafted Shortcuts that are not only incredibly usable and fine-tuned in their own right, but also serve as a guide for you to create your own Shortcuts.
Note: Importing a Shortcut makes a copy that gets sent to your project’s Shortcuts library. Any changes you make to this Shortcut after importing will not be synced to other projects that use the same imported Shortcut—these are all individual Shortcut instances.
Not sure where to even start with this whole thing? Don’t worry, we got you. We recommend importing a few Shortcuts from the Shortcut Gallery. These are great building blocks and learning tools to show you what Nim is capable of. You can generate all the content you need without ever writing a Shortcut from scratch.
Naming your Shortcut
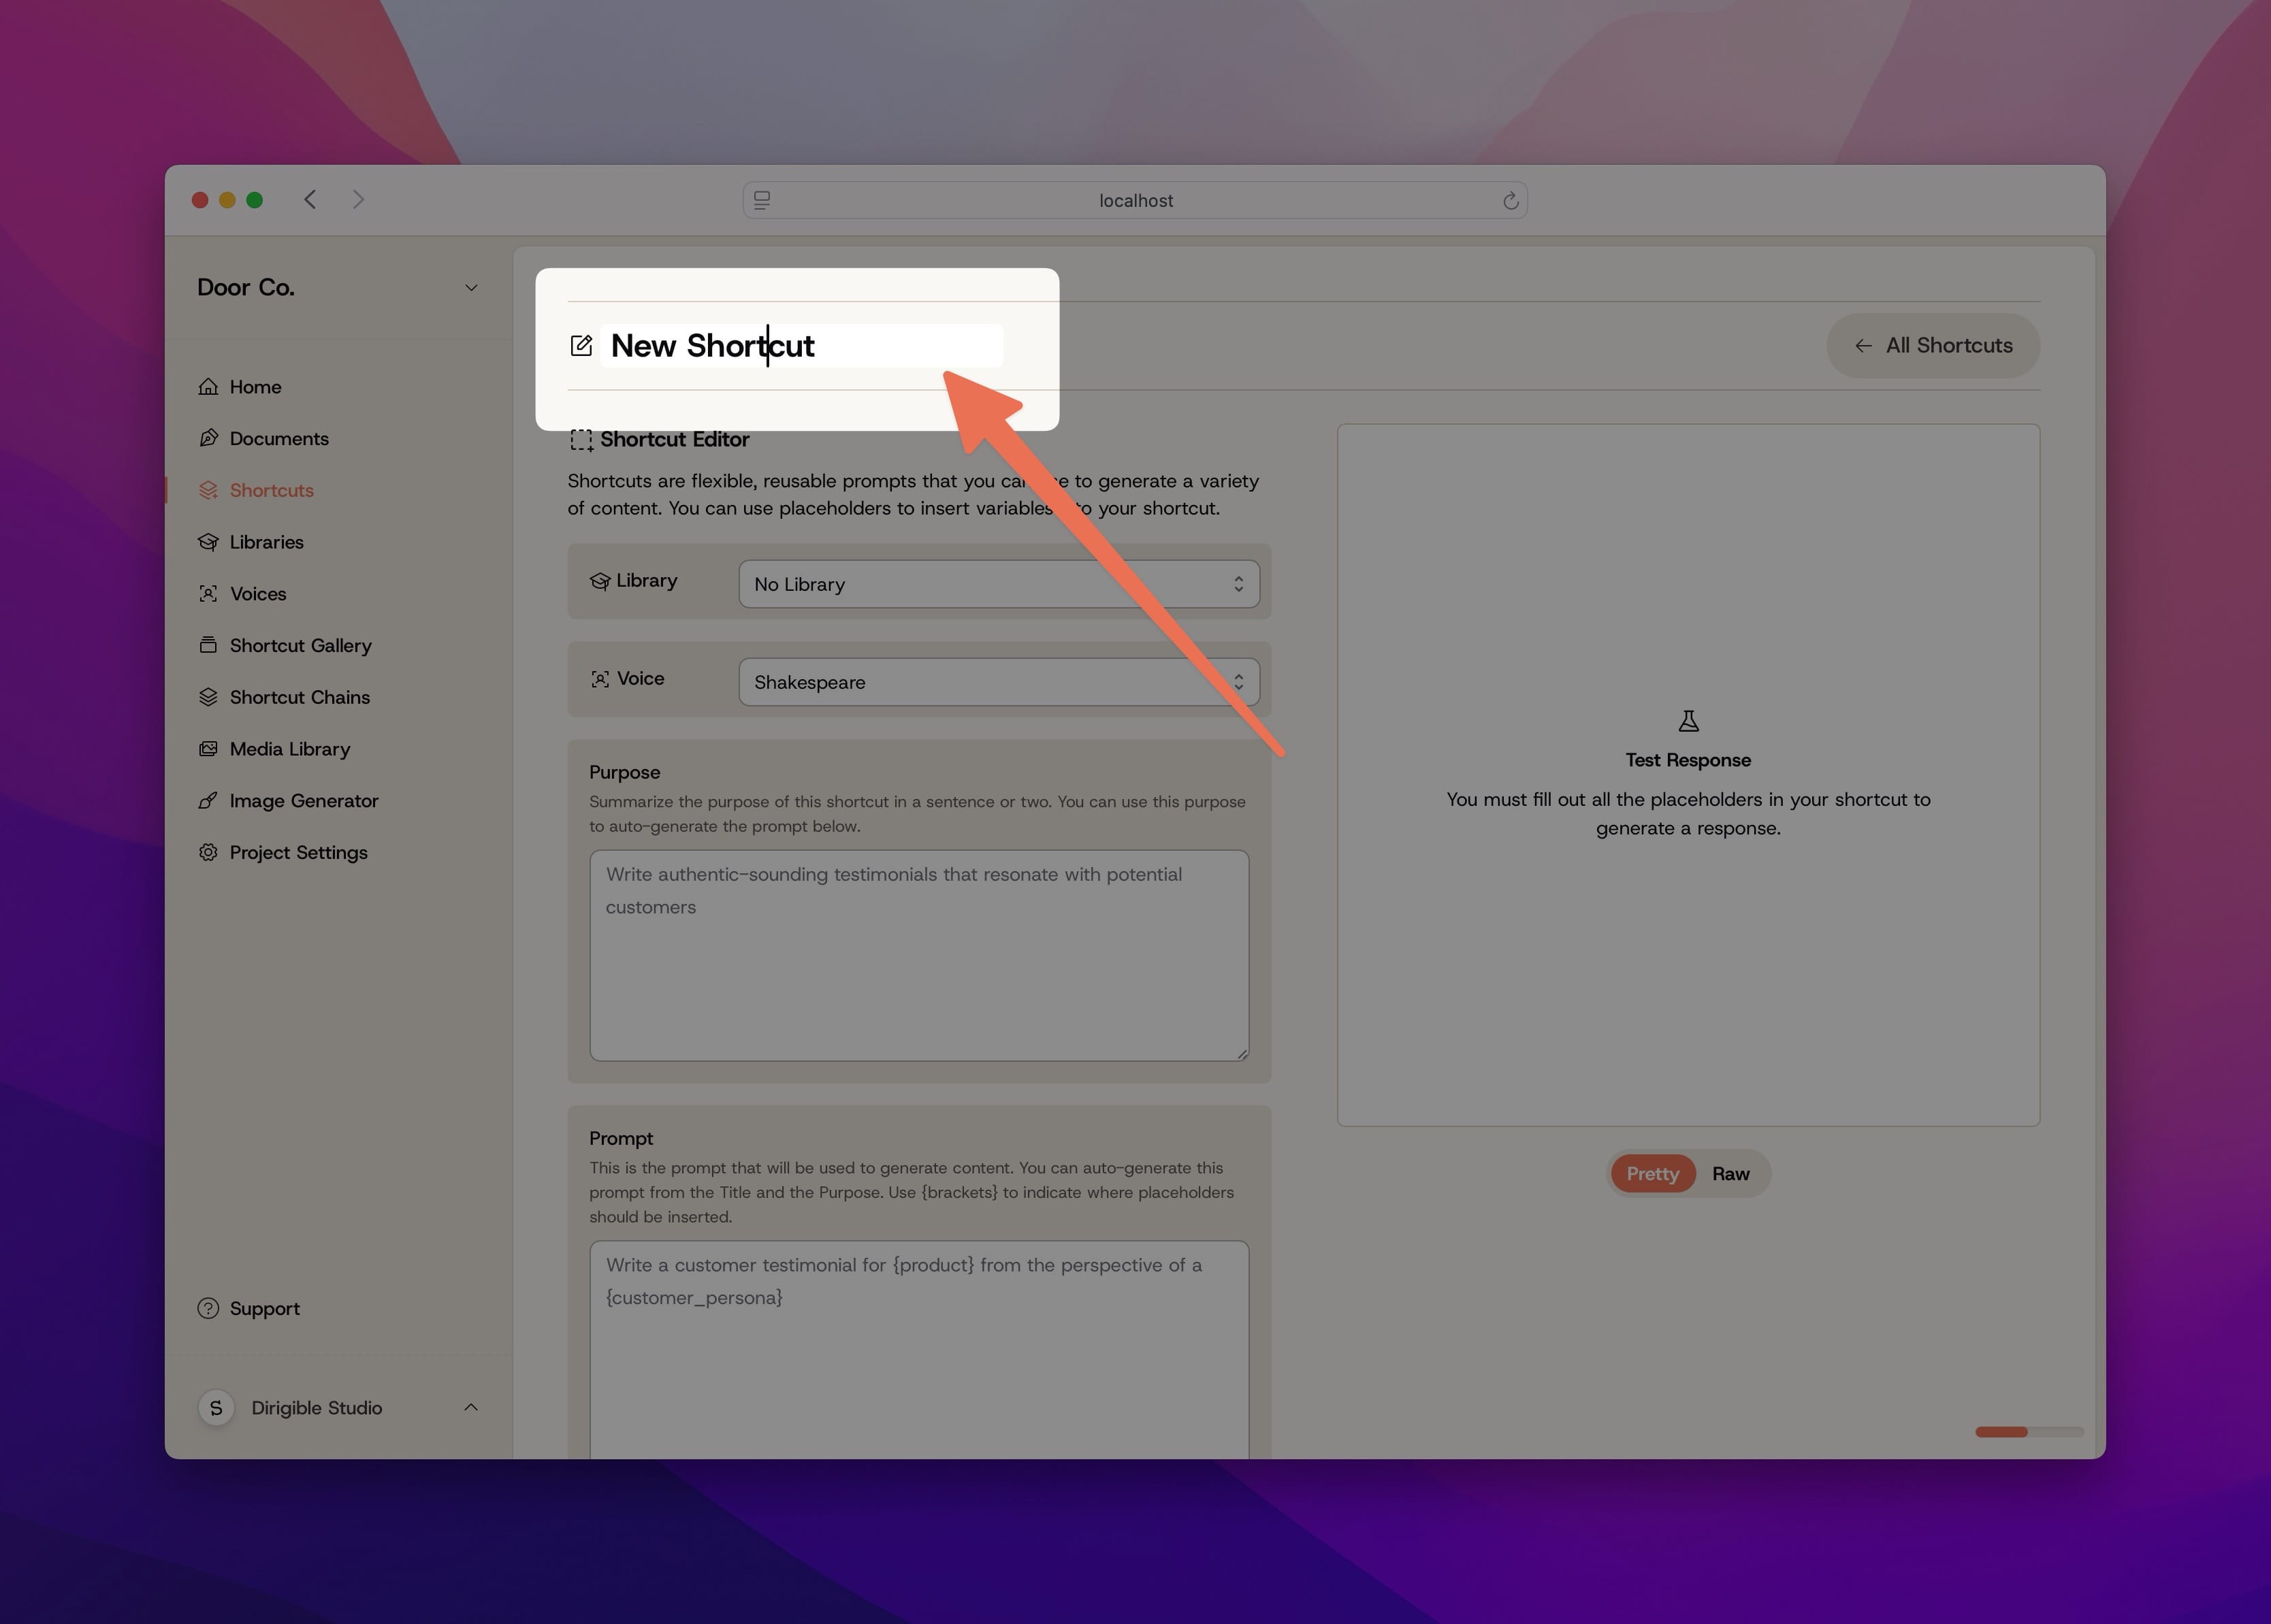
When you create a new Shortcut, you will be directed to the Shortcut Editor. You can give your shortcut a name by clicking the default Shortcut name (New Shortcut) and typing into it. Nim will autosave your Shortcut when you’re done typing.
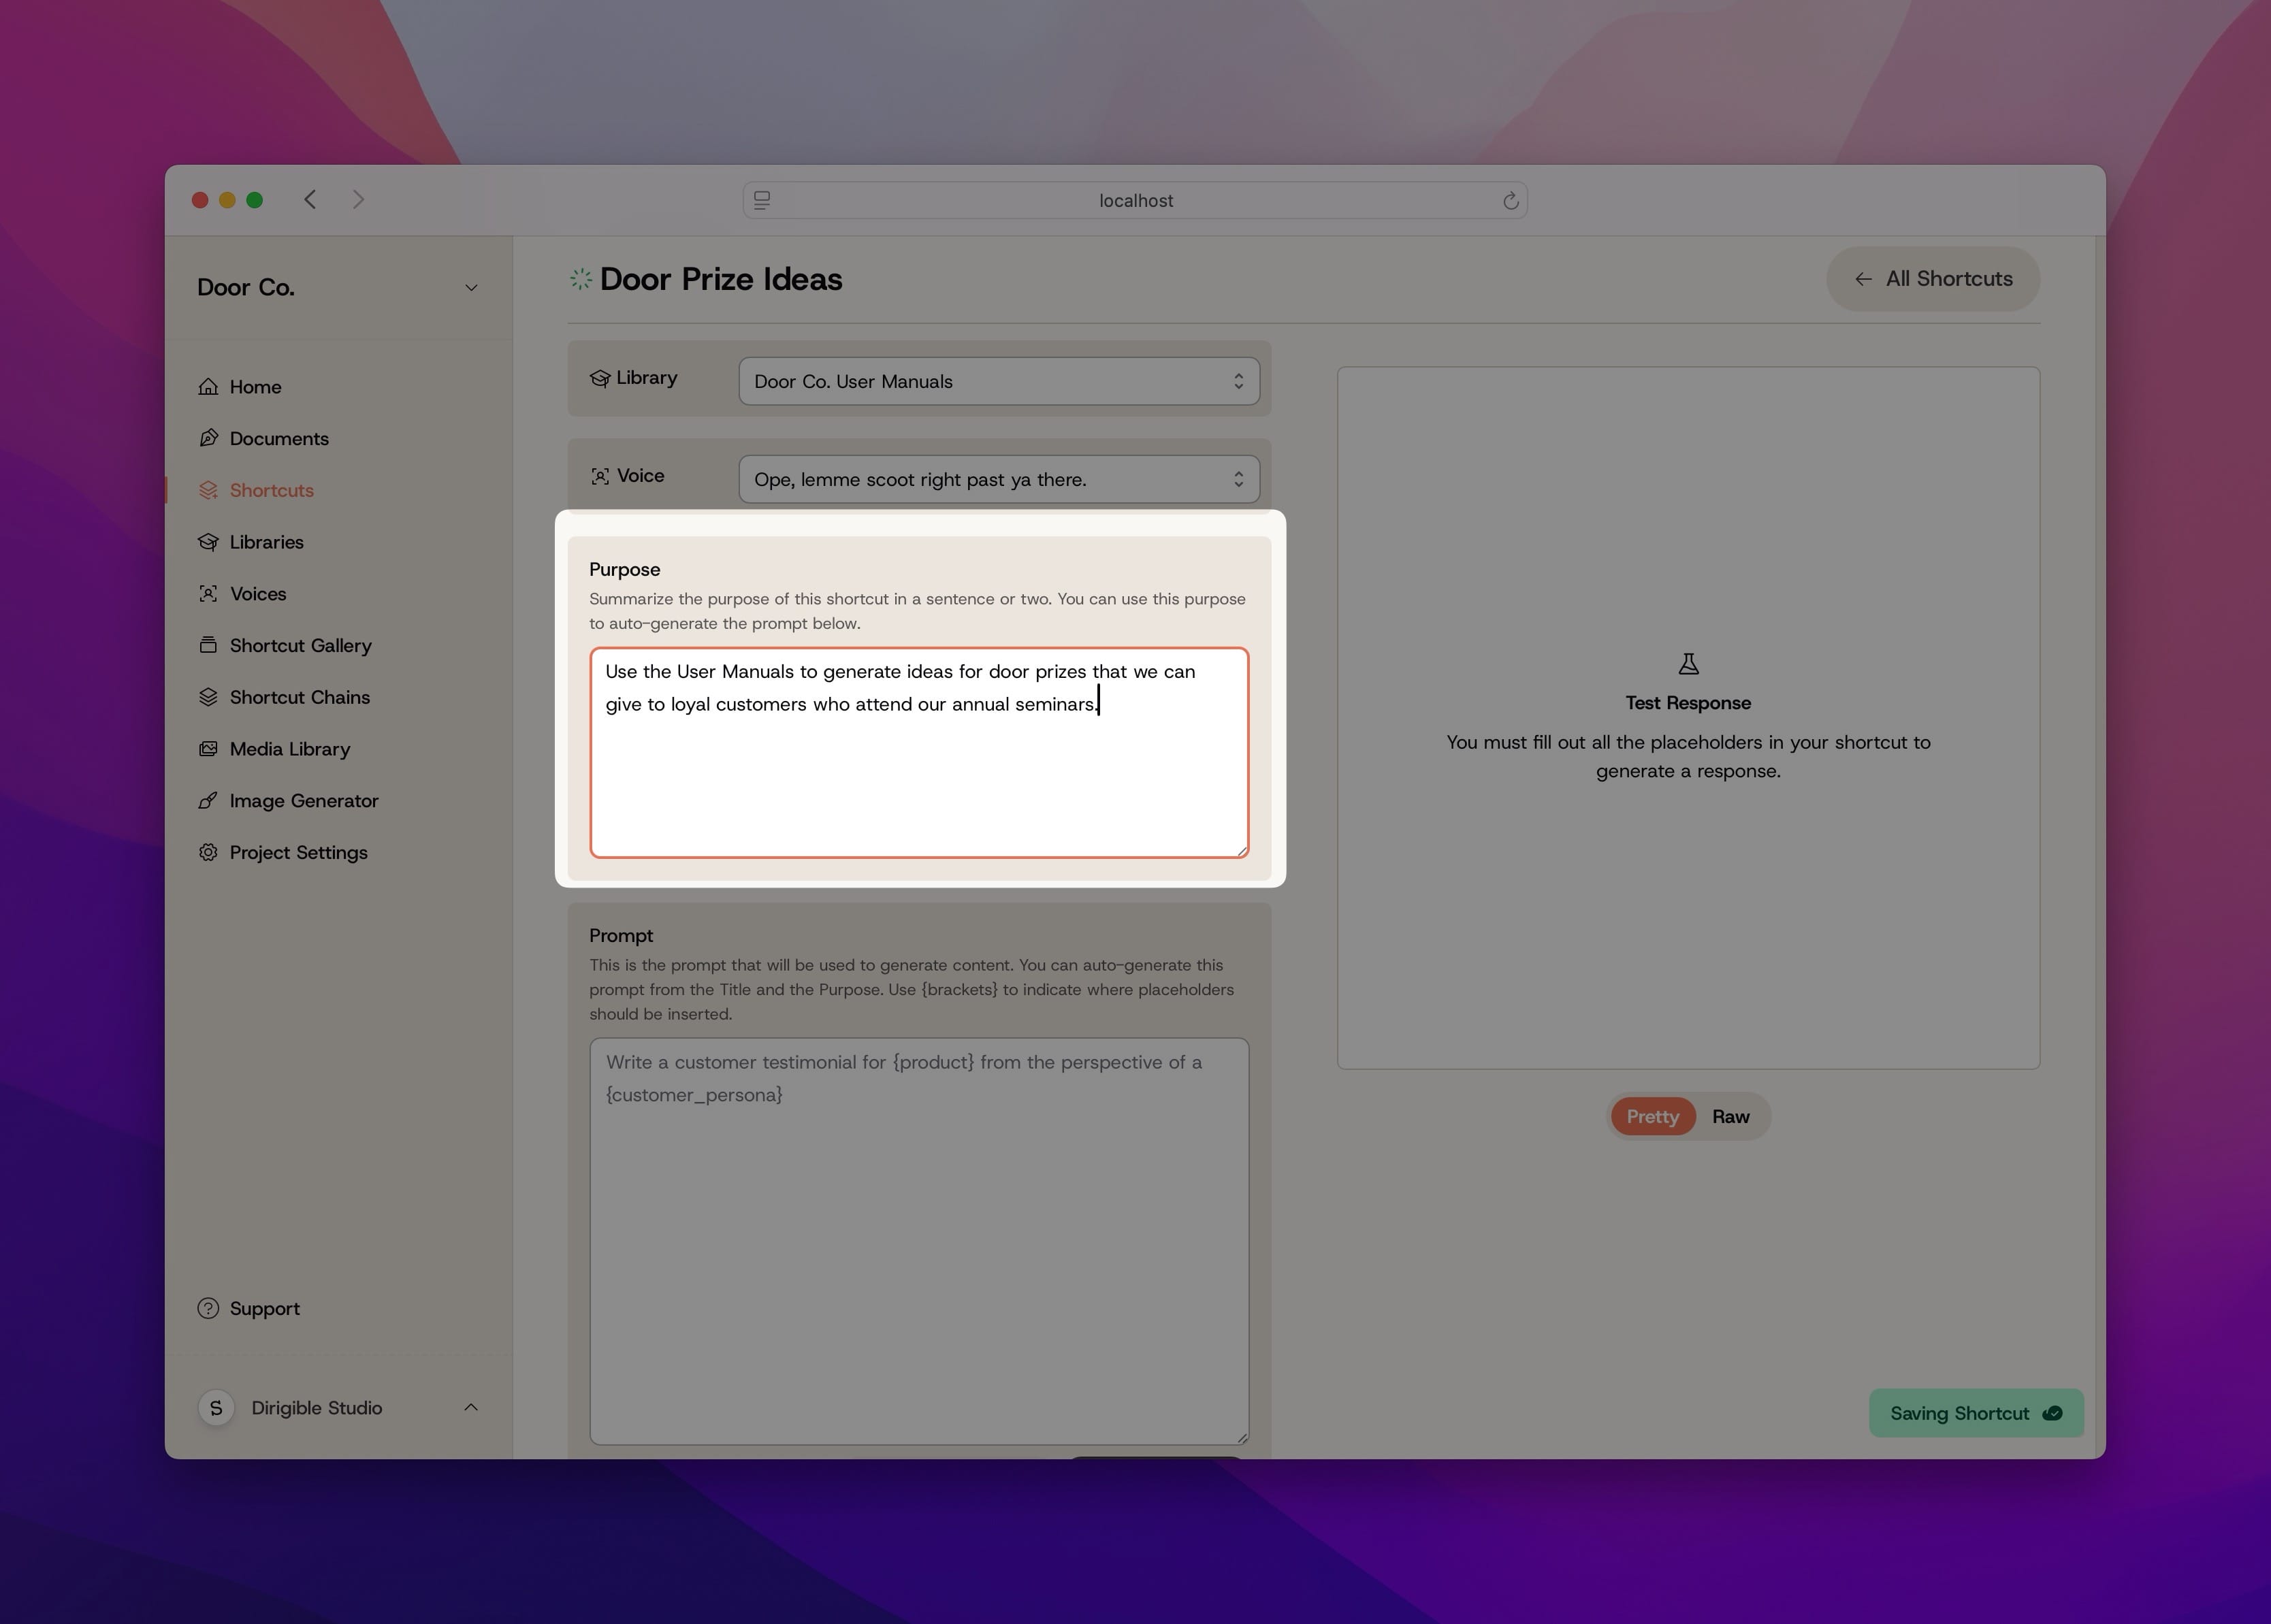
Give this Shortcut a purpose
Next, you want to write a short purpose for this Shortcut in the relevant input. This serves two purposes: this gets sent along with the prompt to your LLM of choice to provide more context and it can be used to automatically generate a prompt. Keep this short and concise—think of it like the thesis statement of your shortcut.
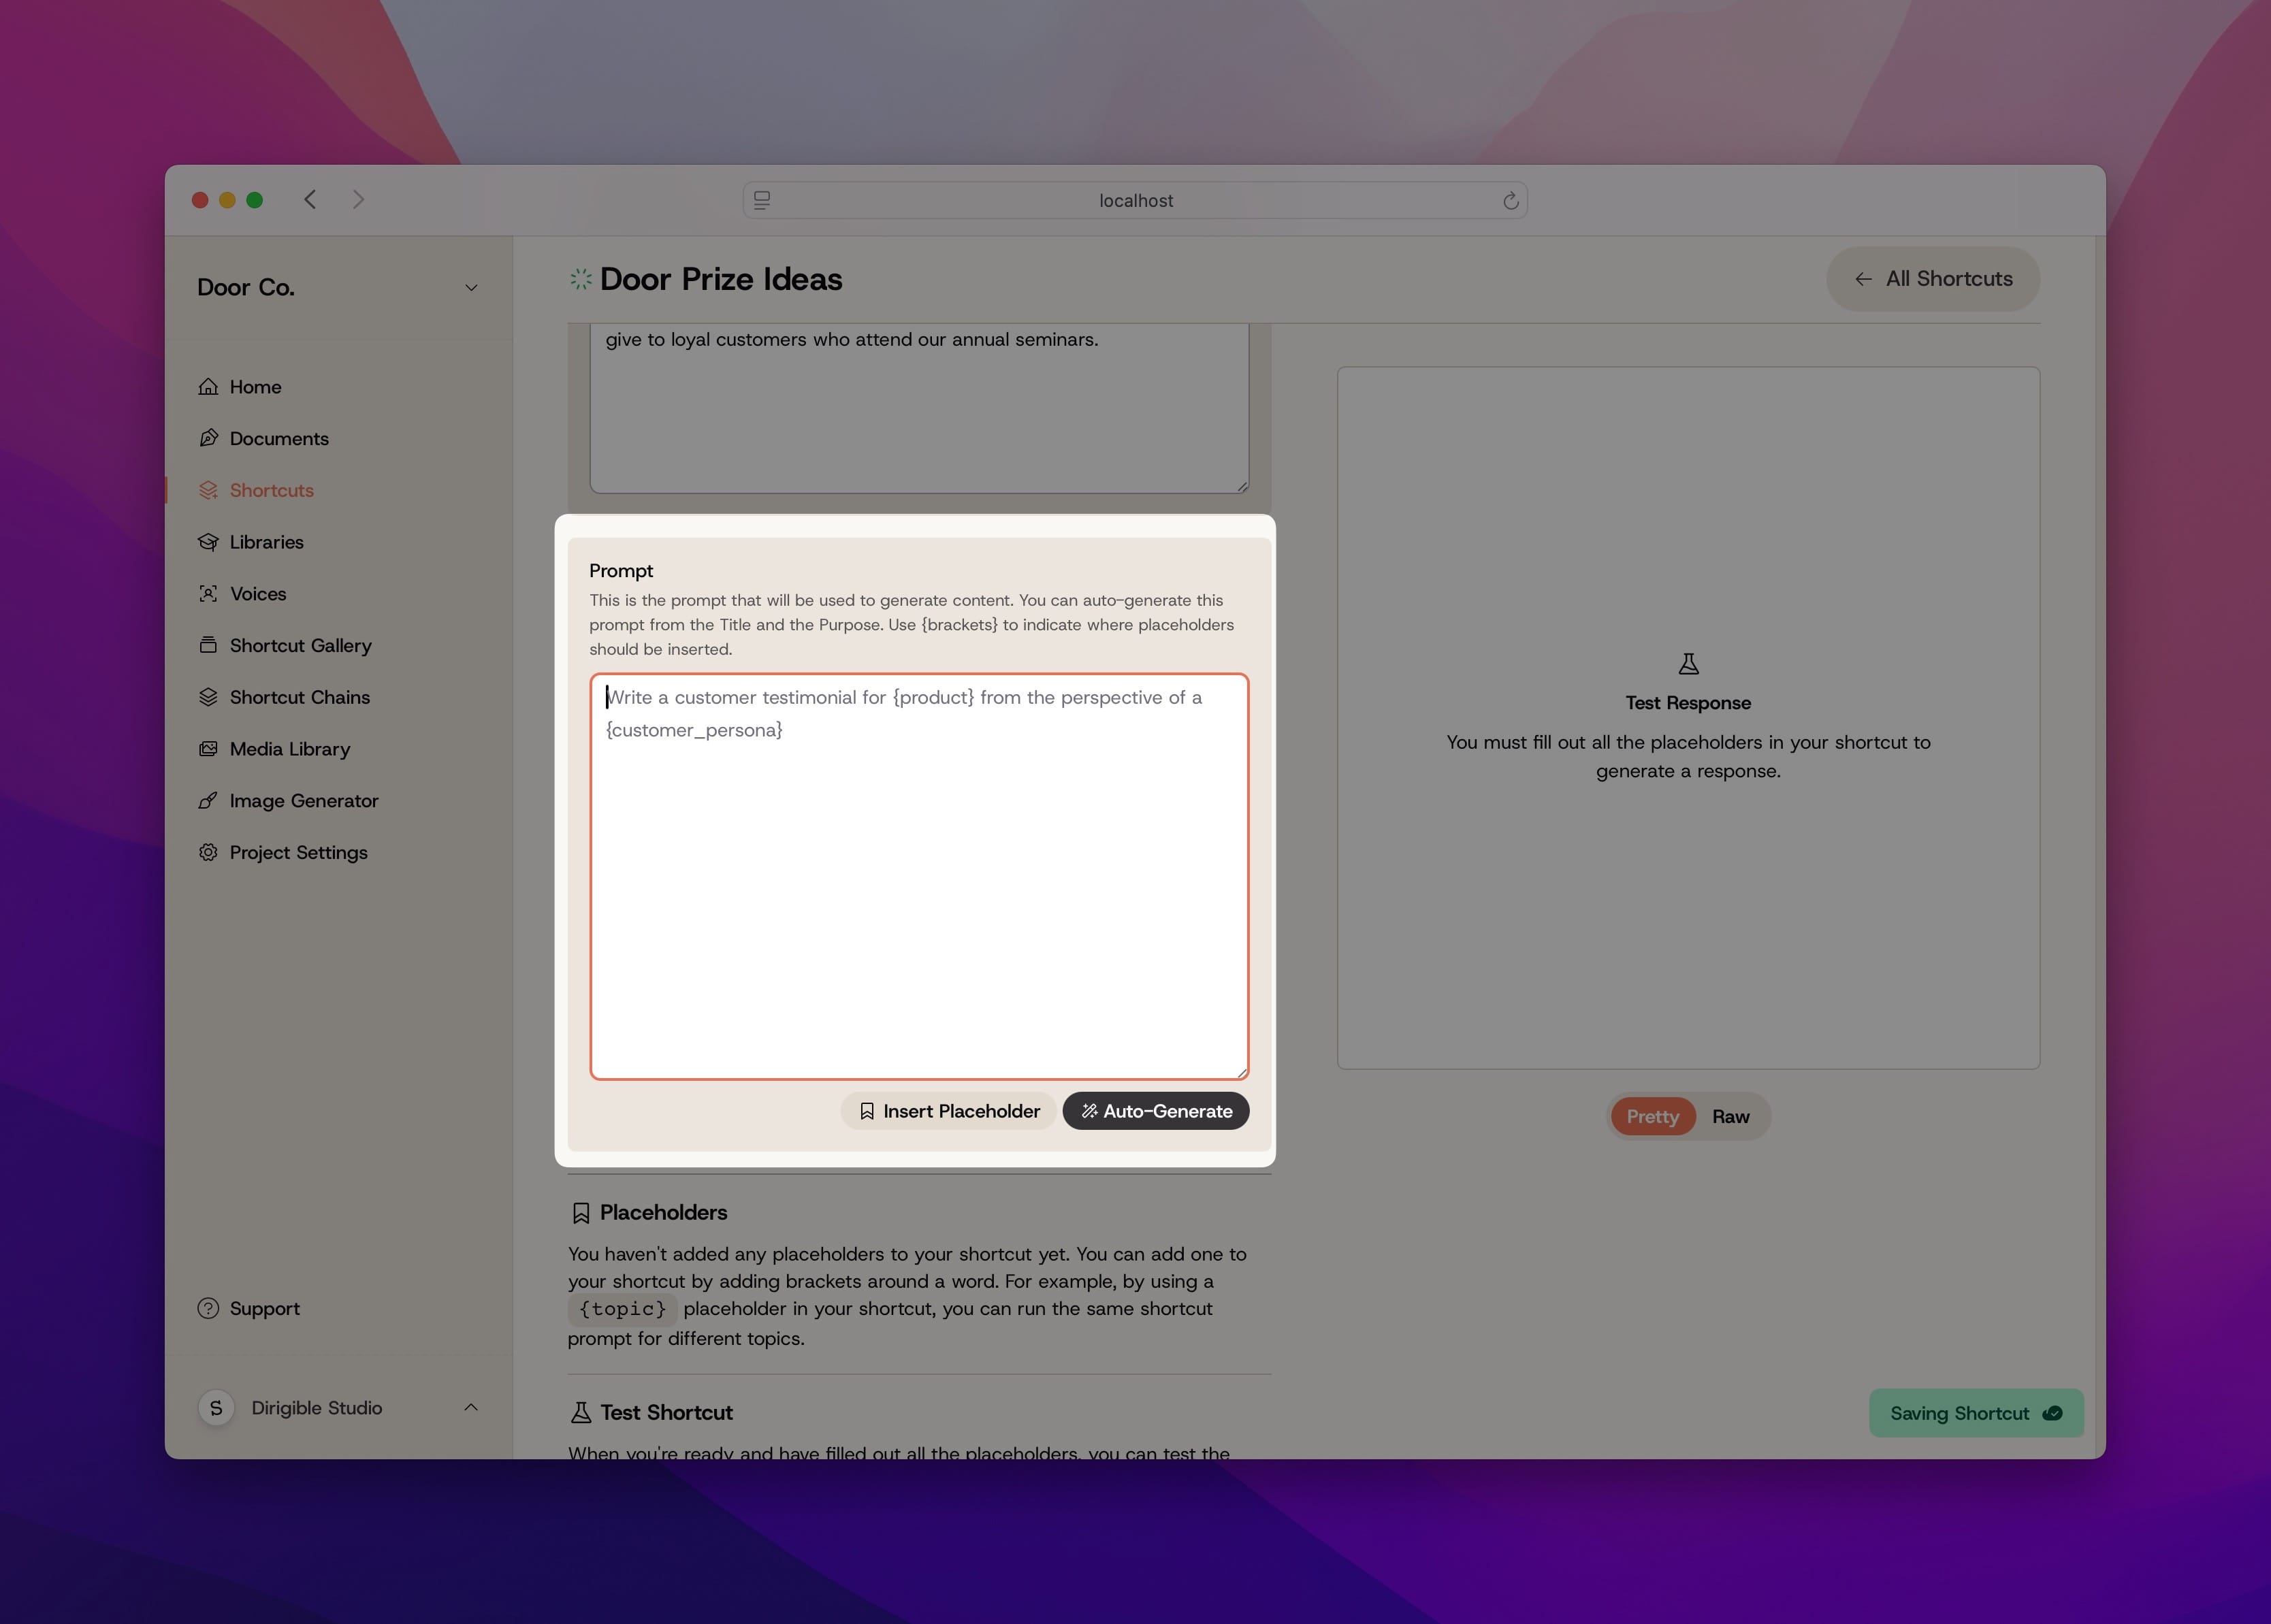
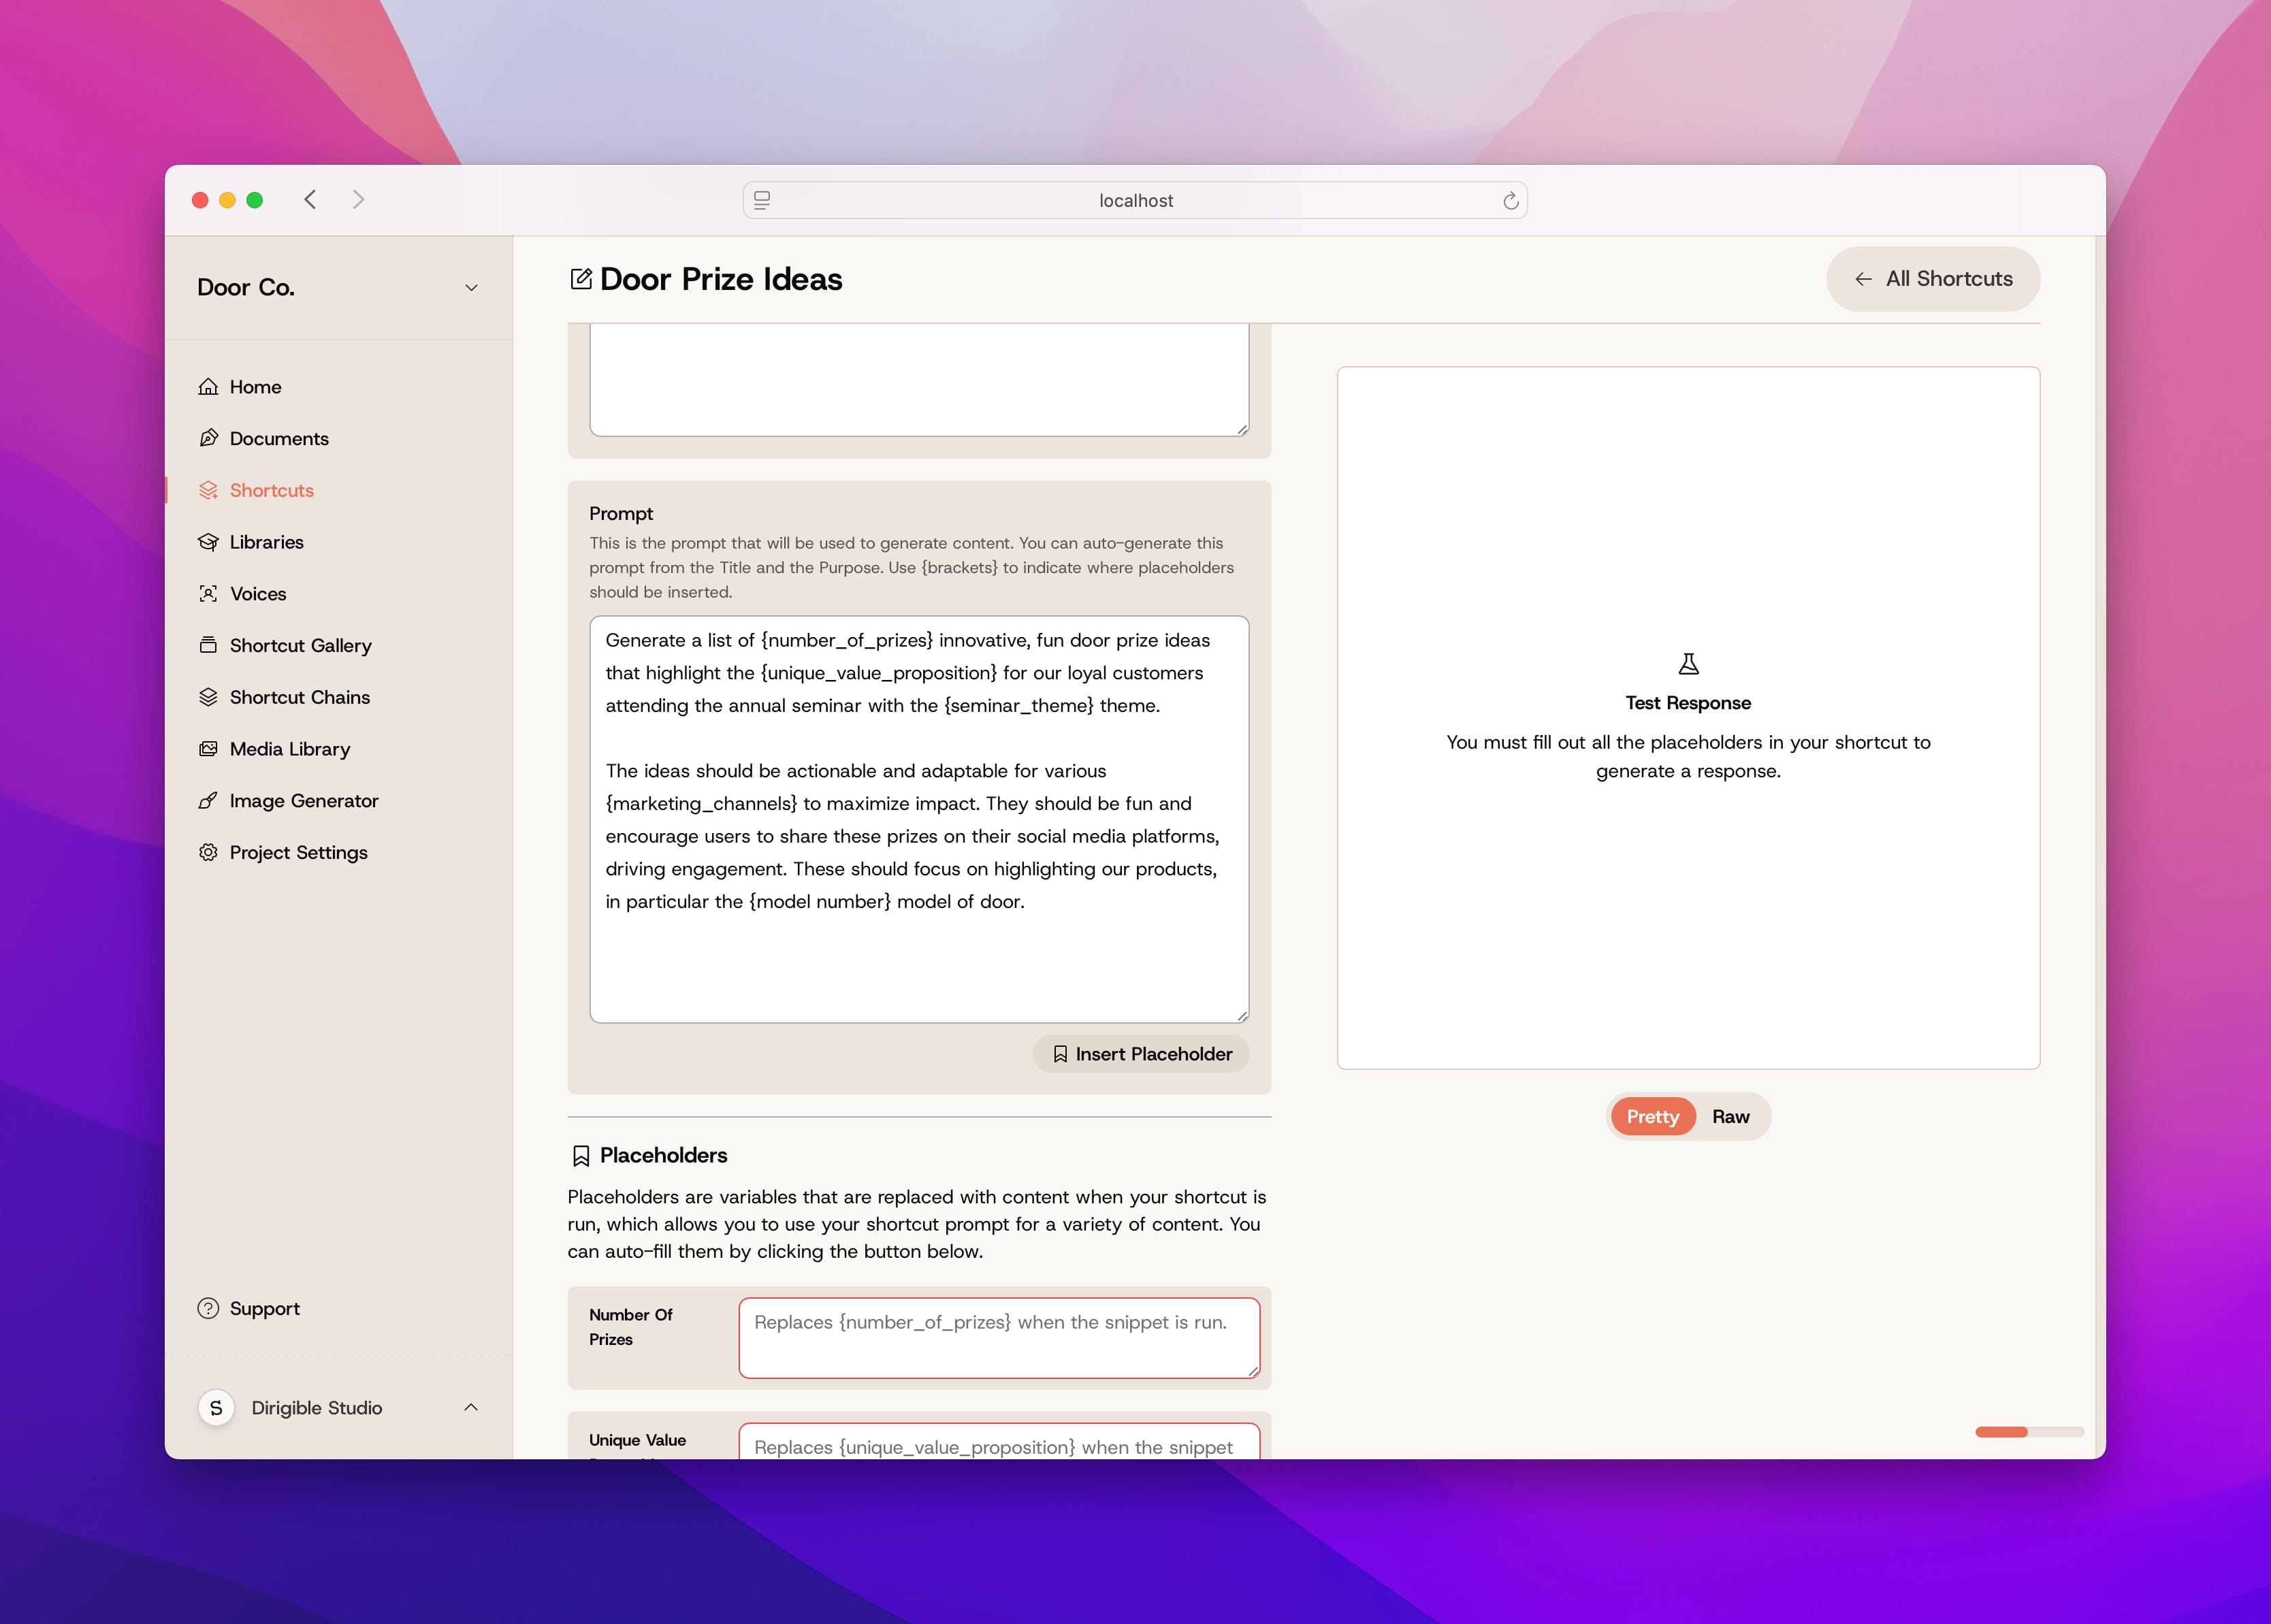
Write your prompt
You can manually compose this Shortcut’s prompt in the Prompt textarea. If you have not started composing this prompt yet, you can use the Auto-Generate button to automatically generate a prompt from the purpose you’ve entered above. We encourage you to keep refining and sculpting these prompts. Not giving you what you want? Refine, refine, refine!
All about Placeholders. What are they? Why use them?
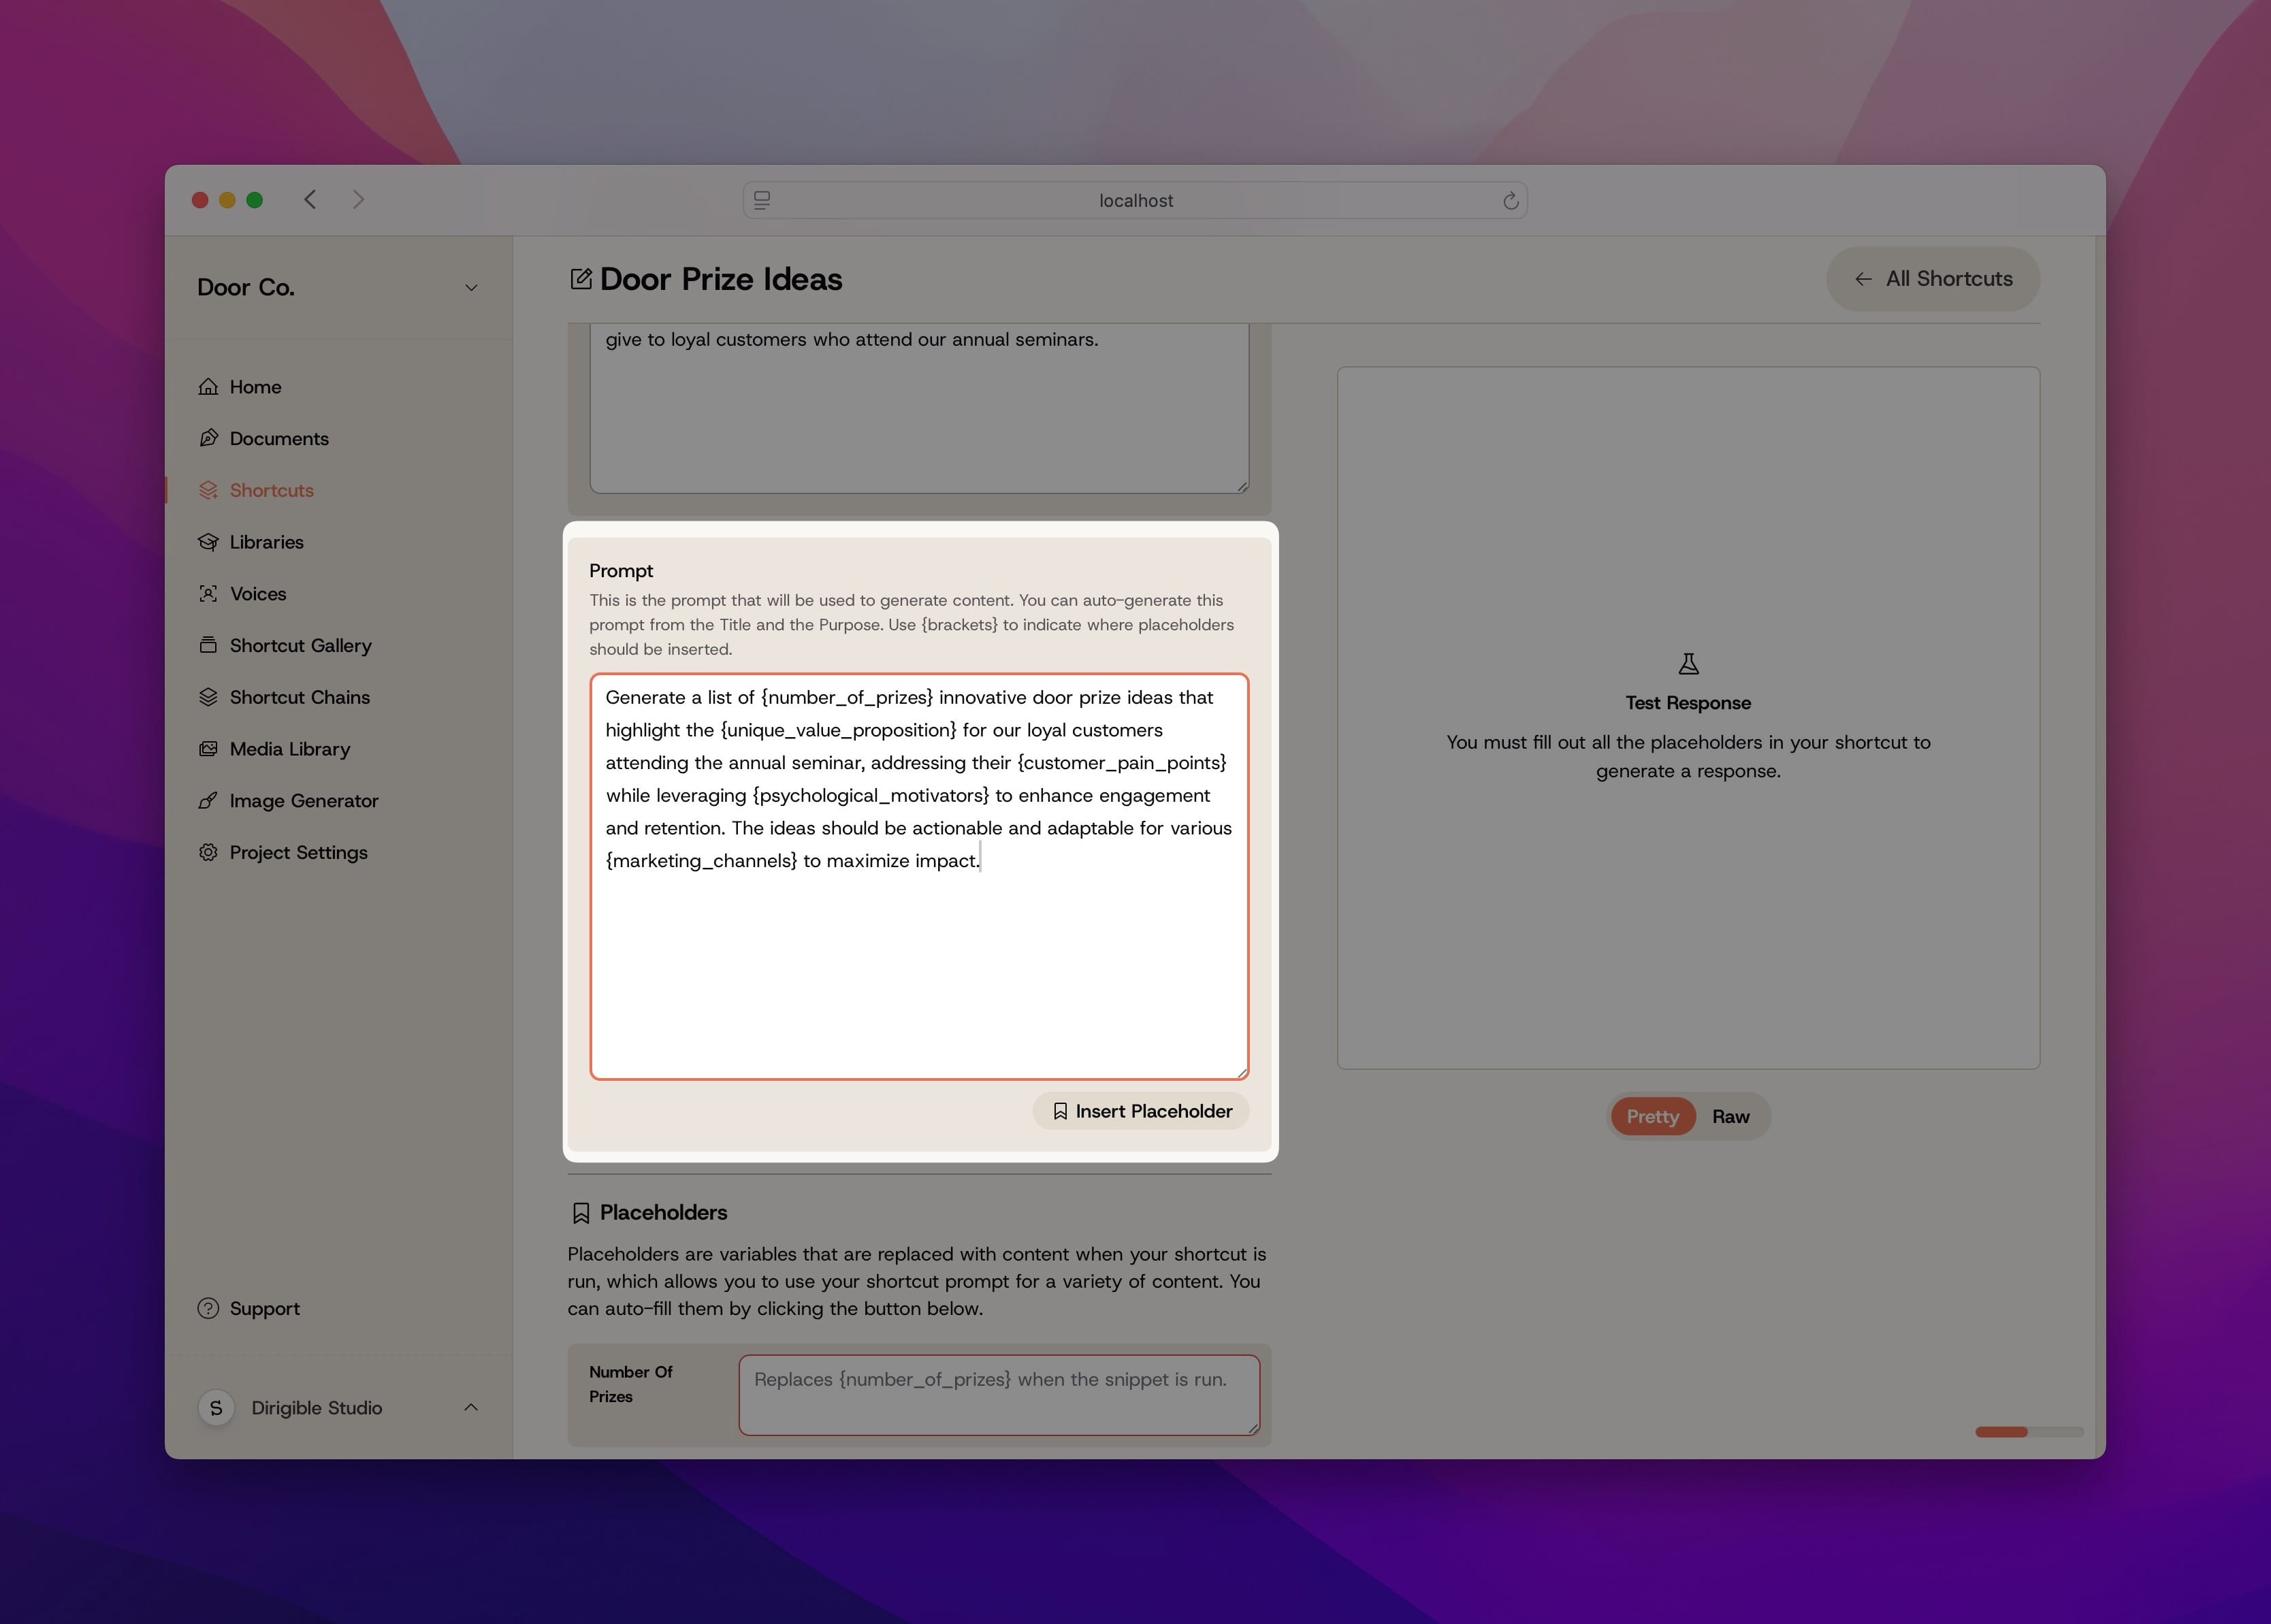
We also encourage adding Placeholders to your prompts to generalize them. Essentially, this will create variables within your prompt. You can add a Placeholder to a prompt by encapsulating a word or phrase with brackets {}.
For example, you can create a {topics} placeholder. Then, whenever you run your Shortcut, you can change the {topic} you’d like Nim to focus on. This lets you write a great prompt once, and then use that same prompt over and over again for all sorts of different content applications!
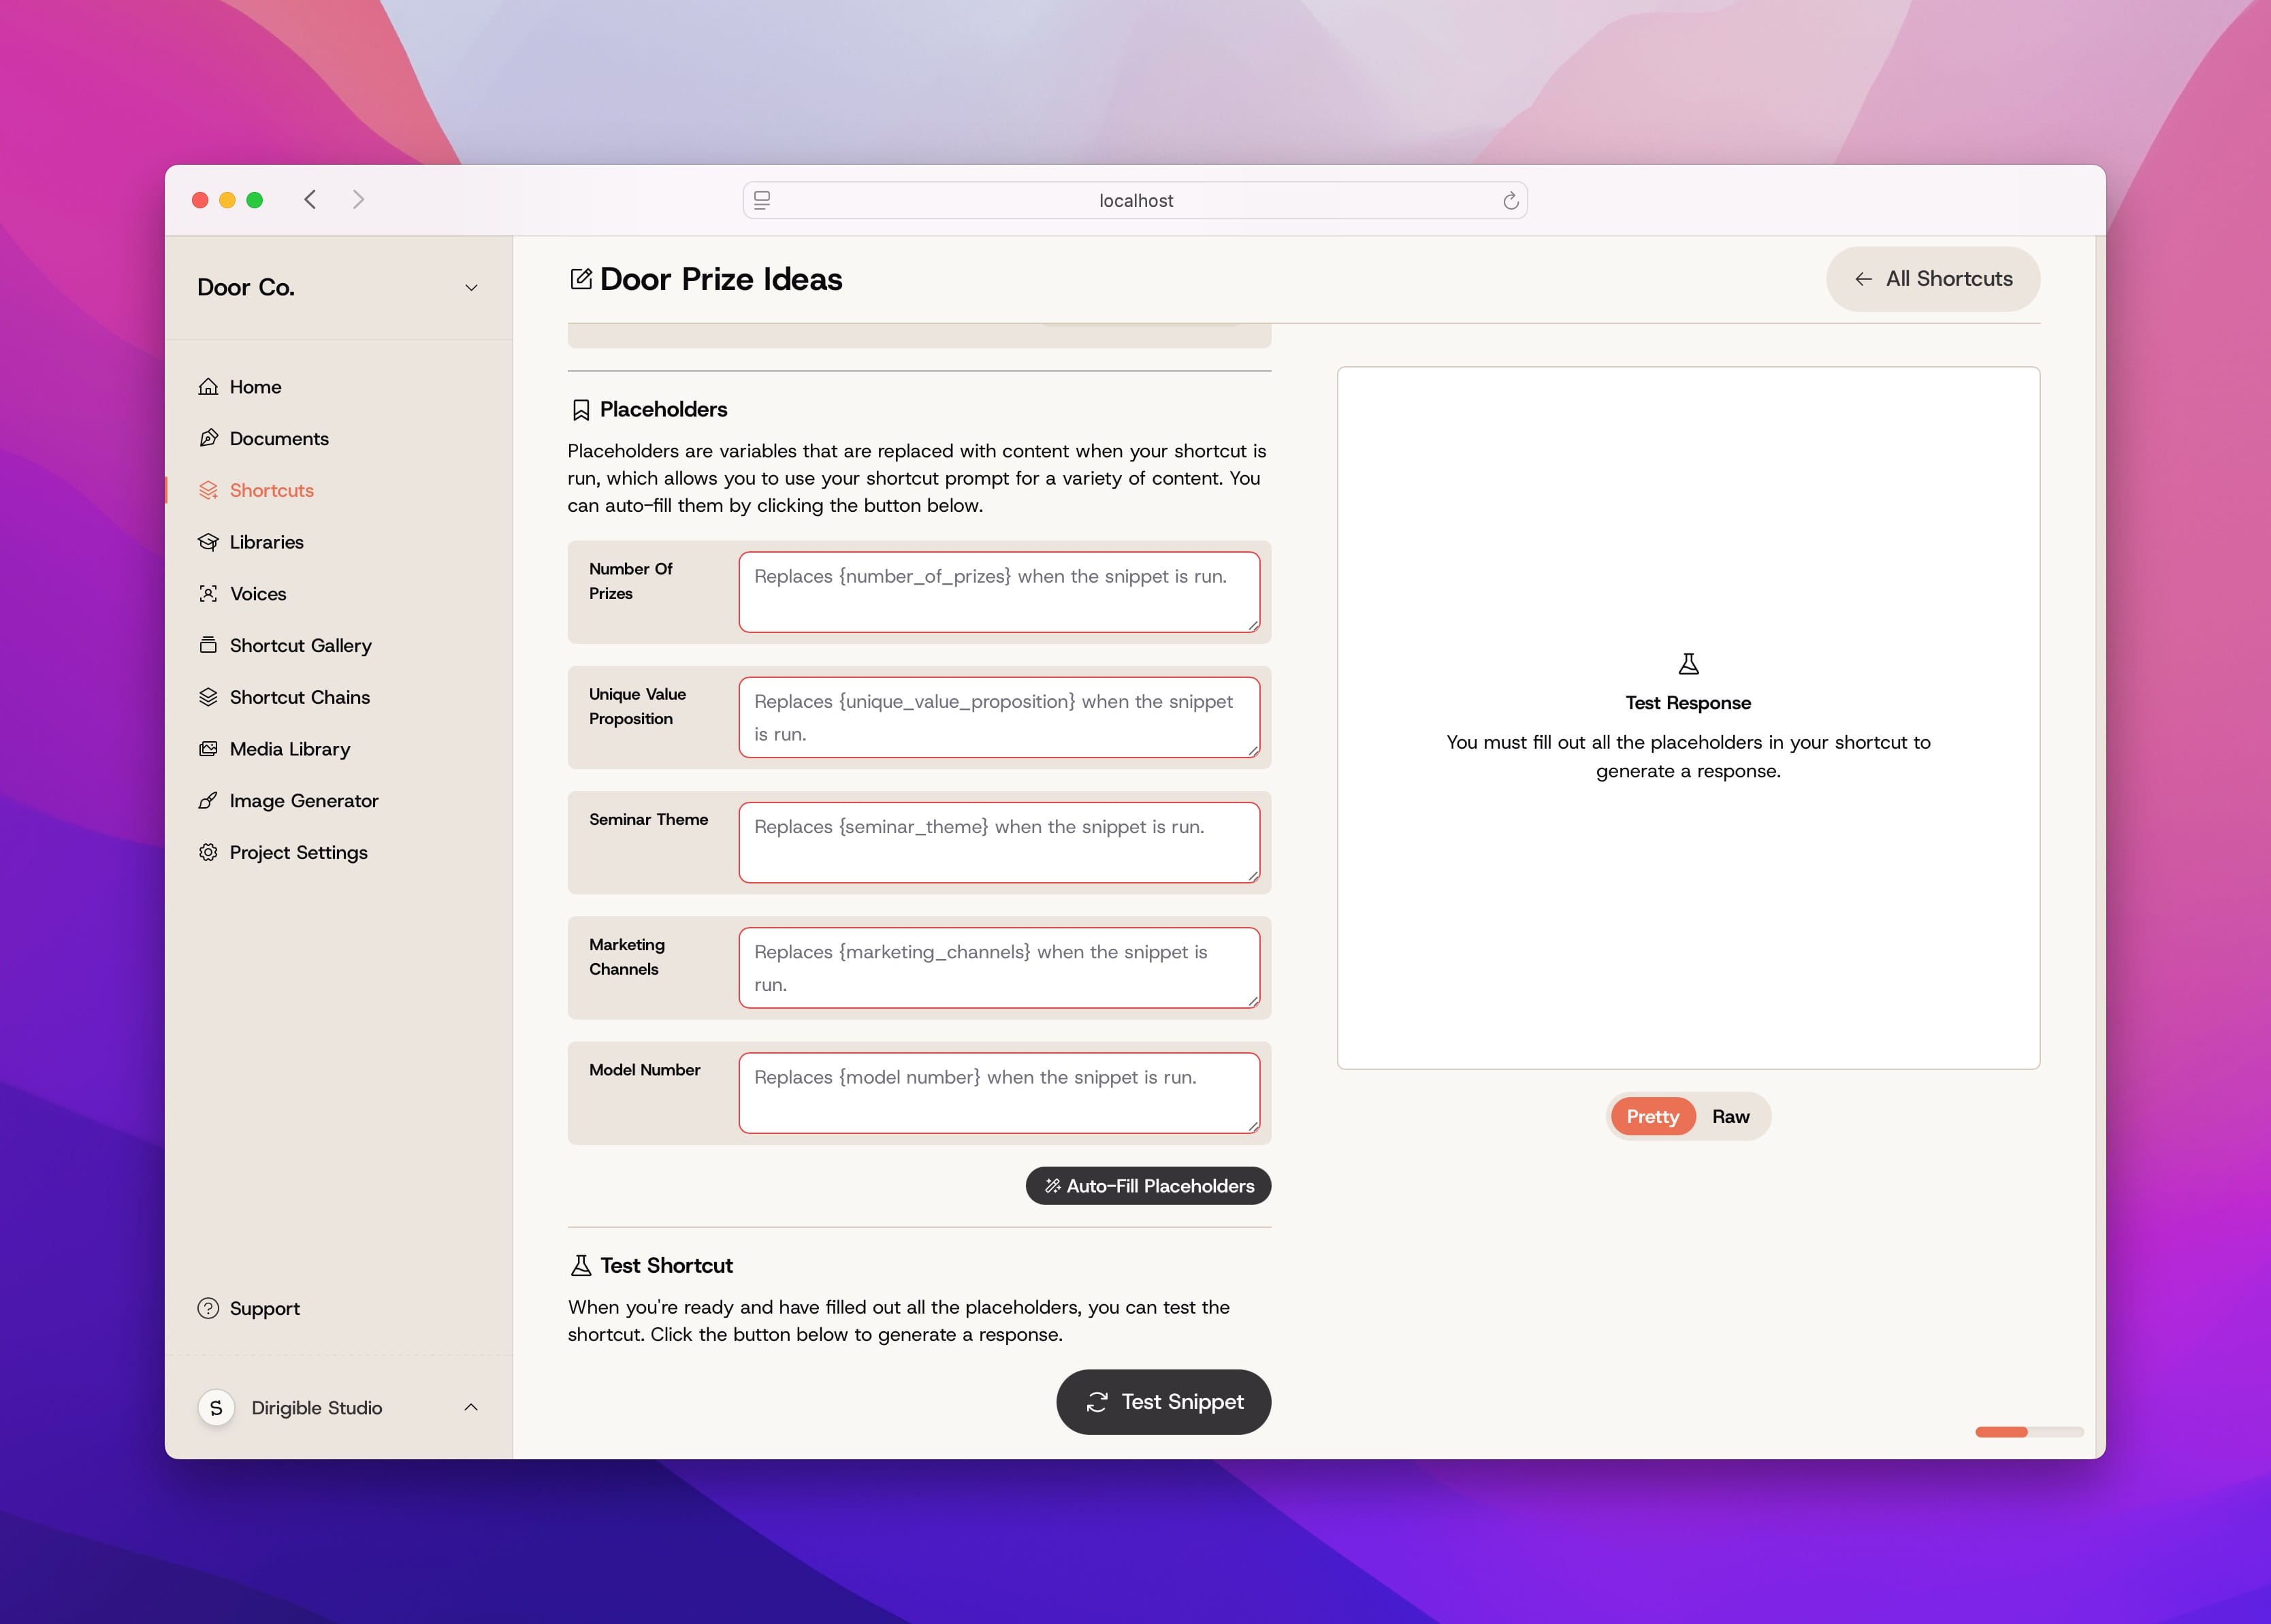
Testing your prompt
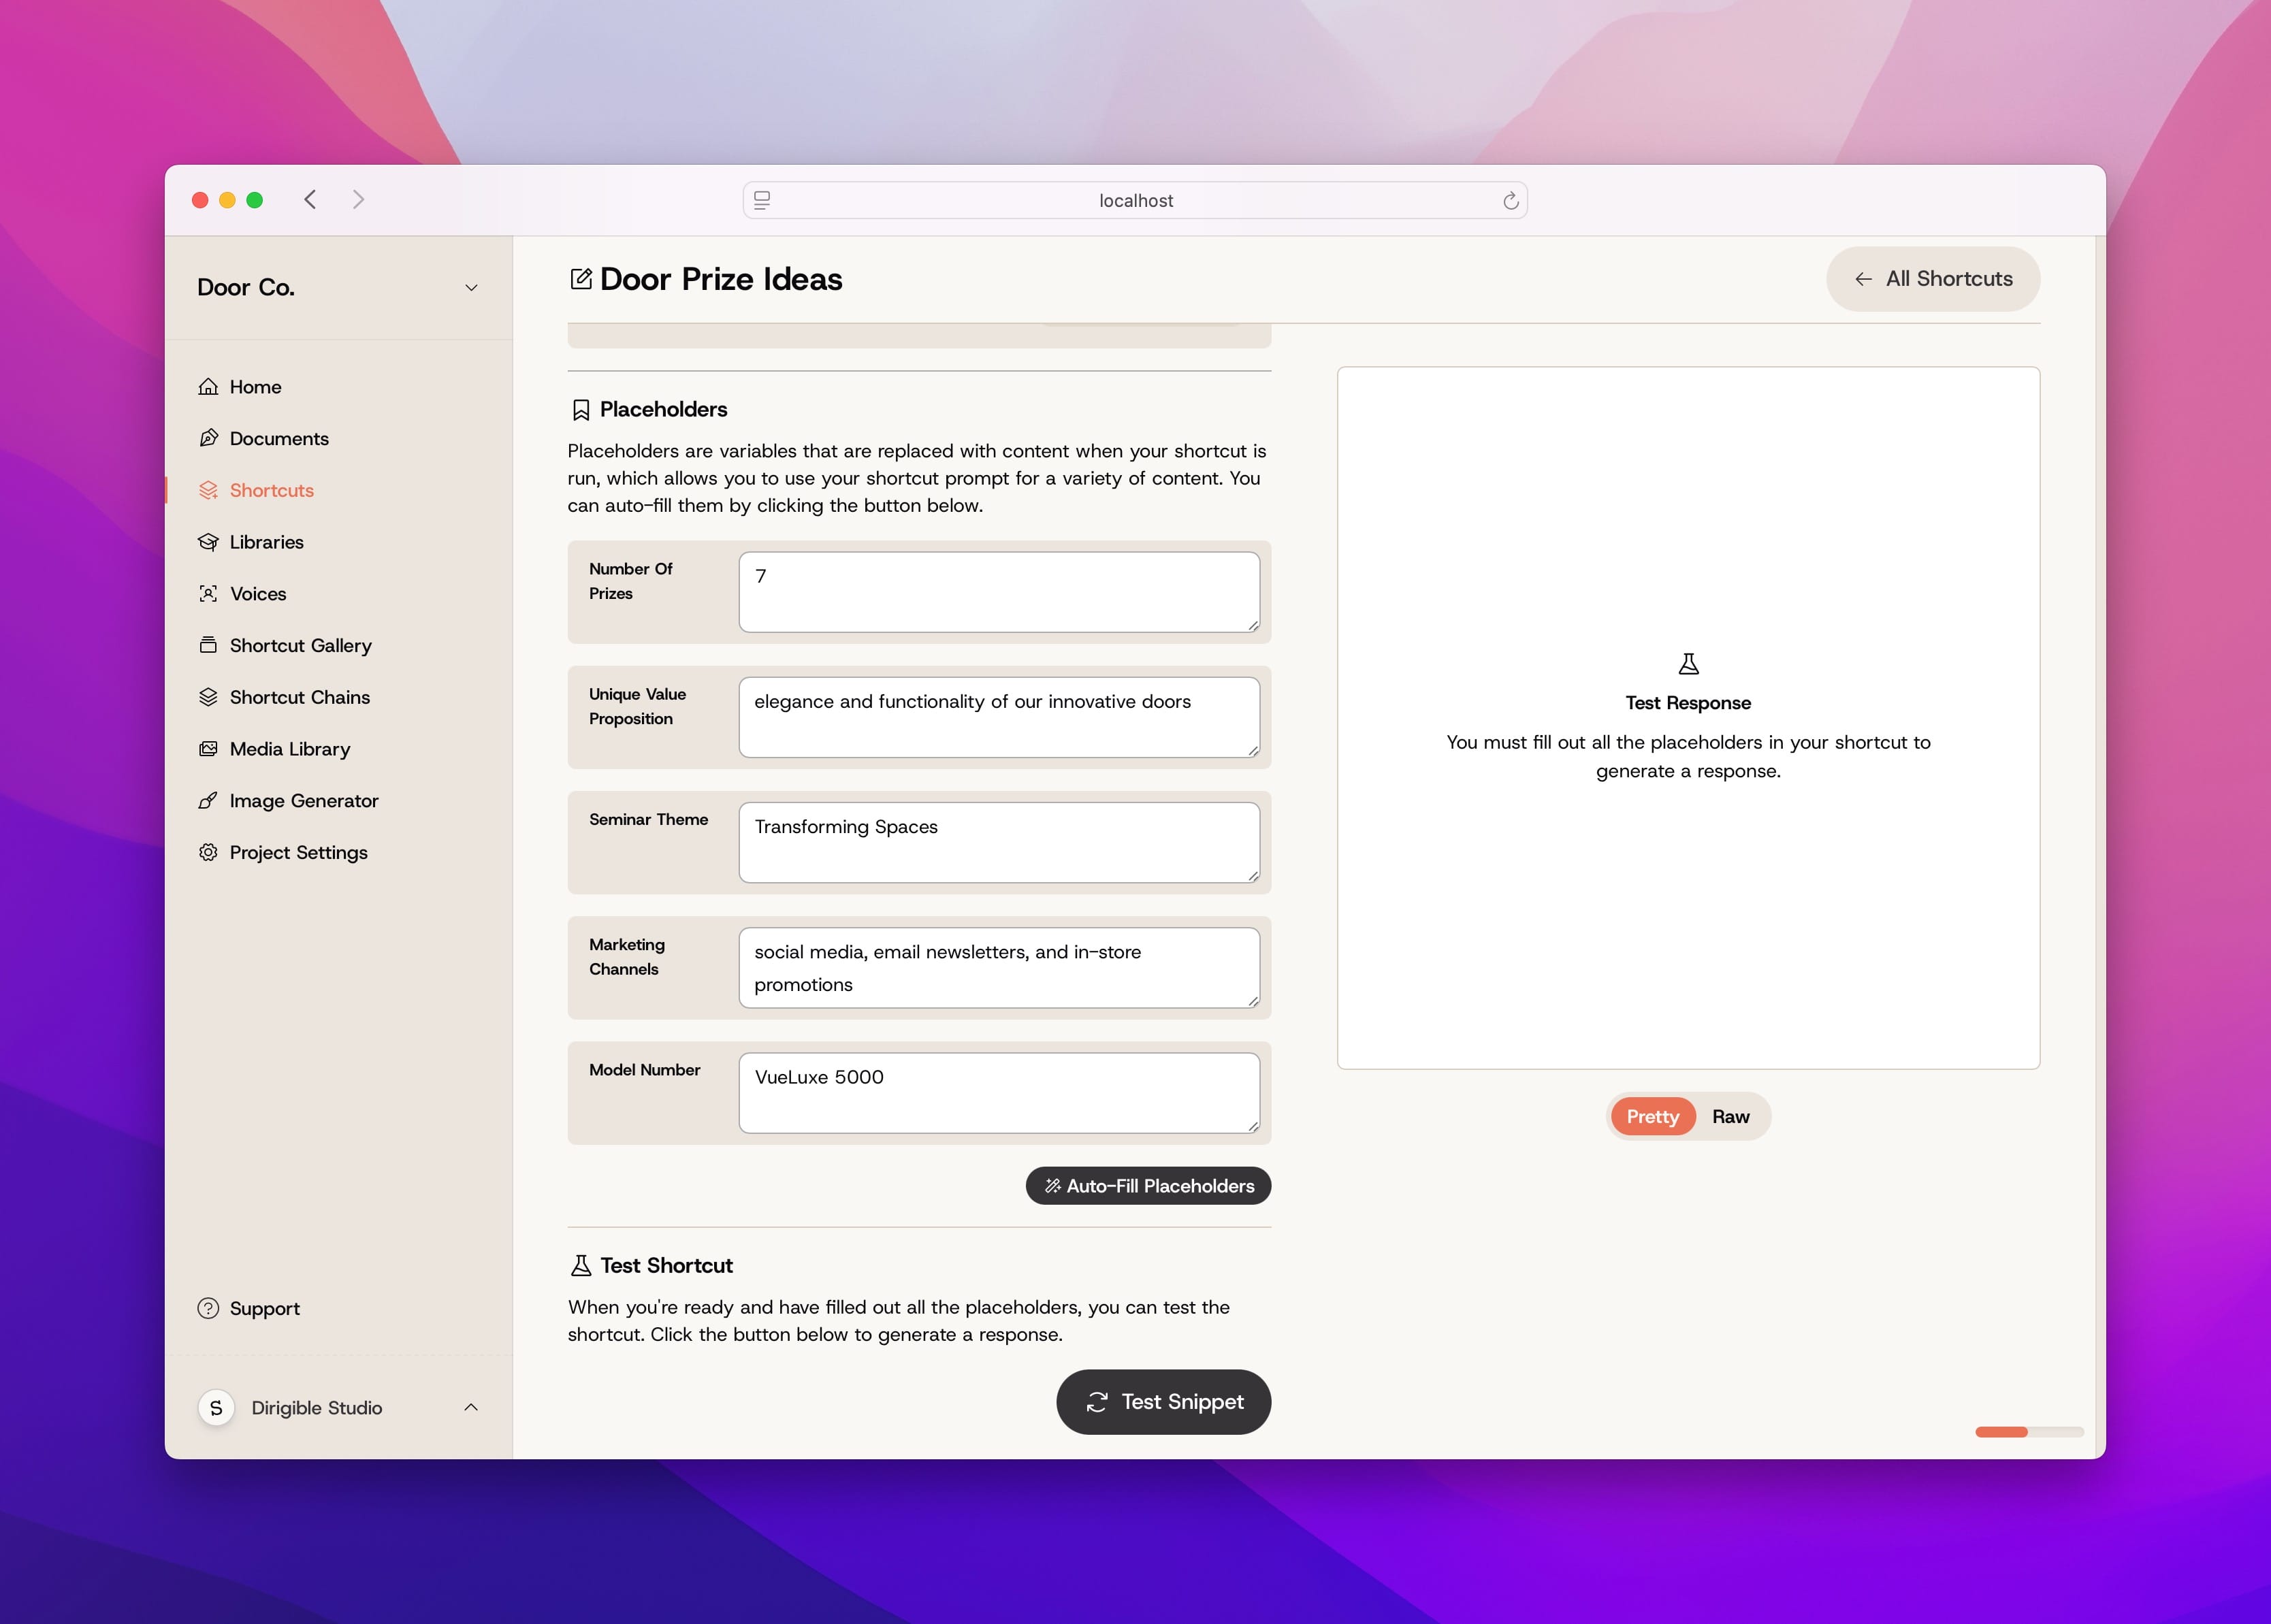
In order to test your Shortcut, you’ll have to fill out any Placeholders you’ve included in your prompt. Not sure what to put? Don’t worry, we’ve included an Auto-Fill Placeholders button for you to use. Click this, and Nim will use context clues from your Library and the purpose and prompt of this Shortcut to guess at some values you might want to use as Placeholders.
When you’re happy with these Placeholder values, click the Test Shortcut button to generate a test response from Nim.
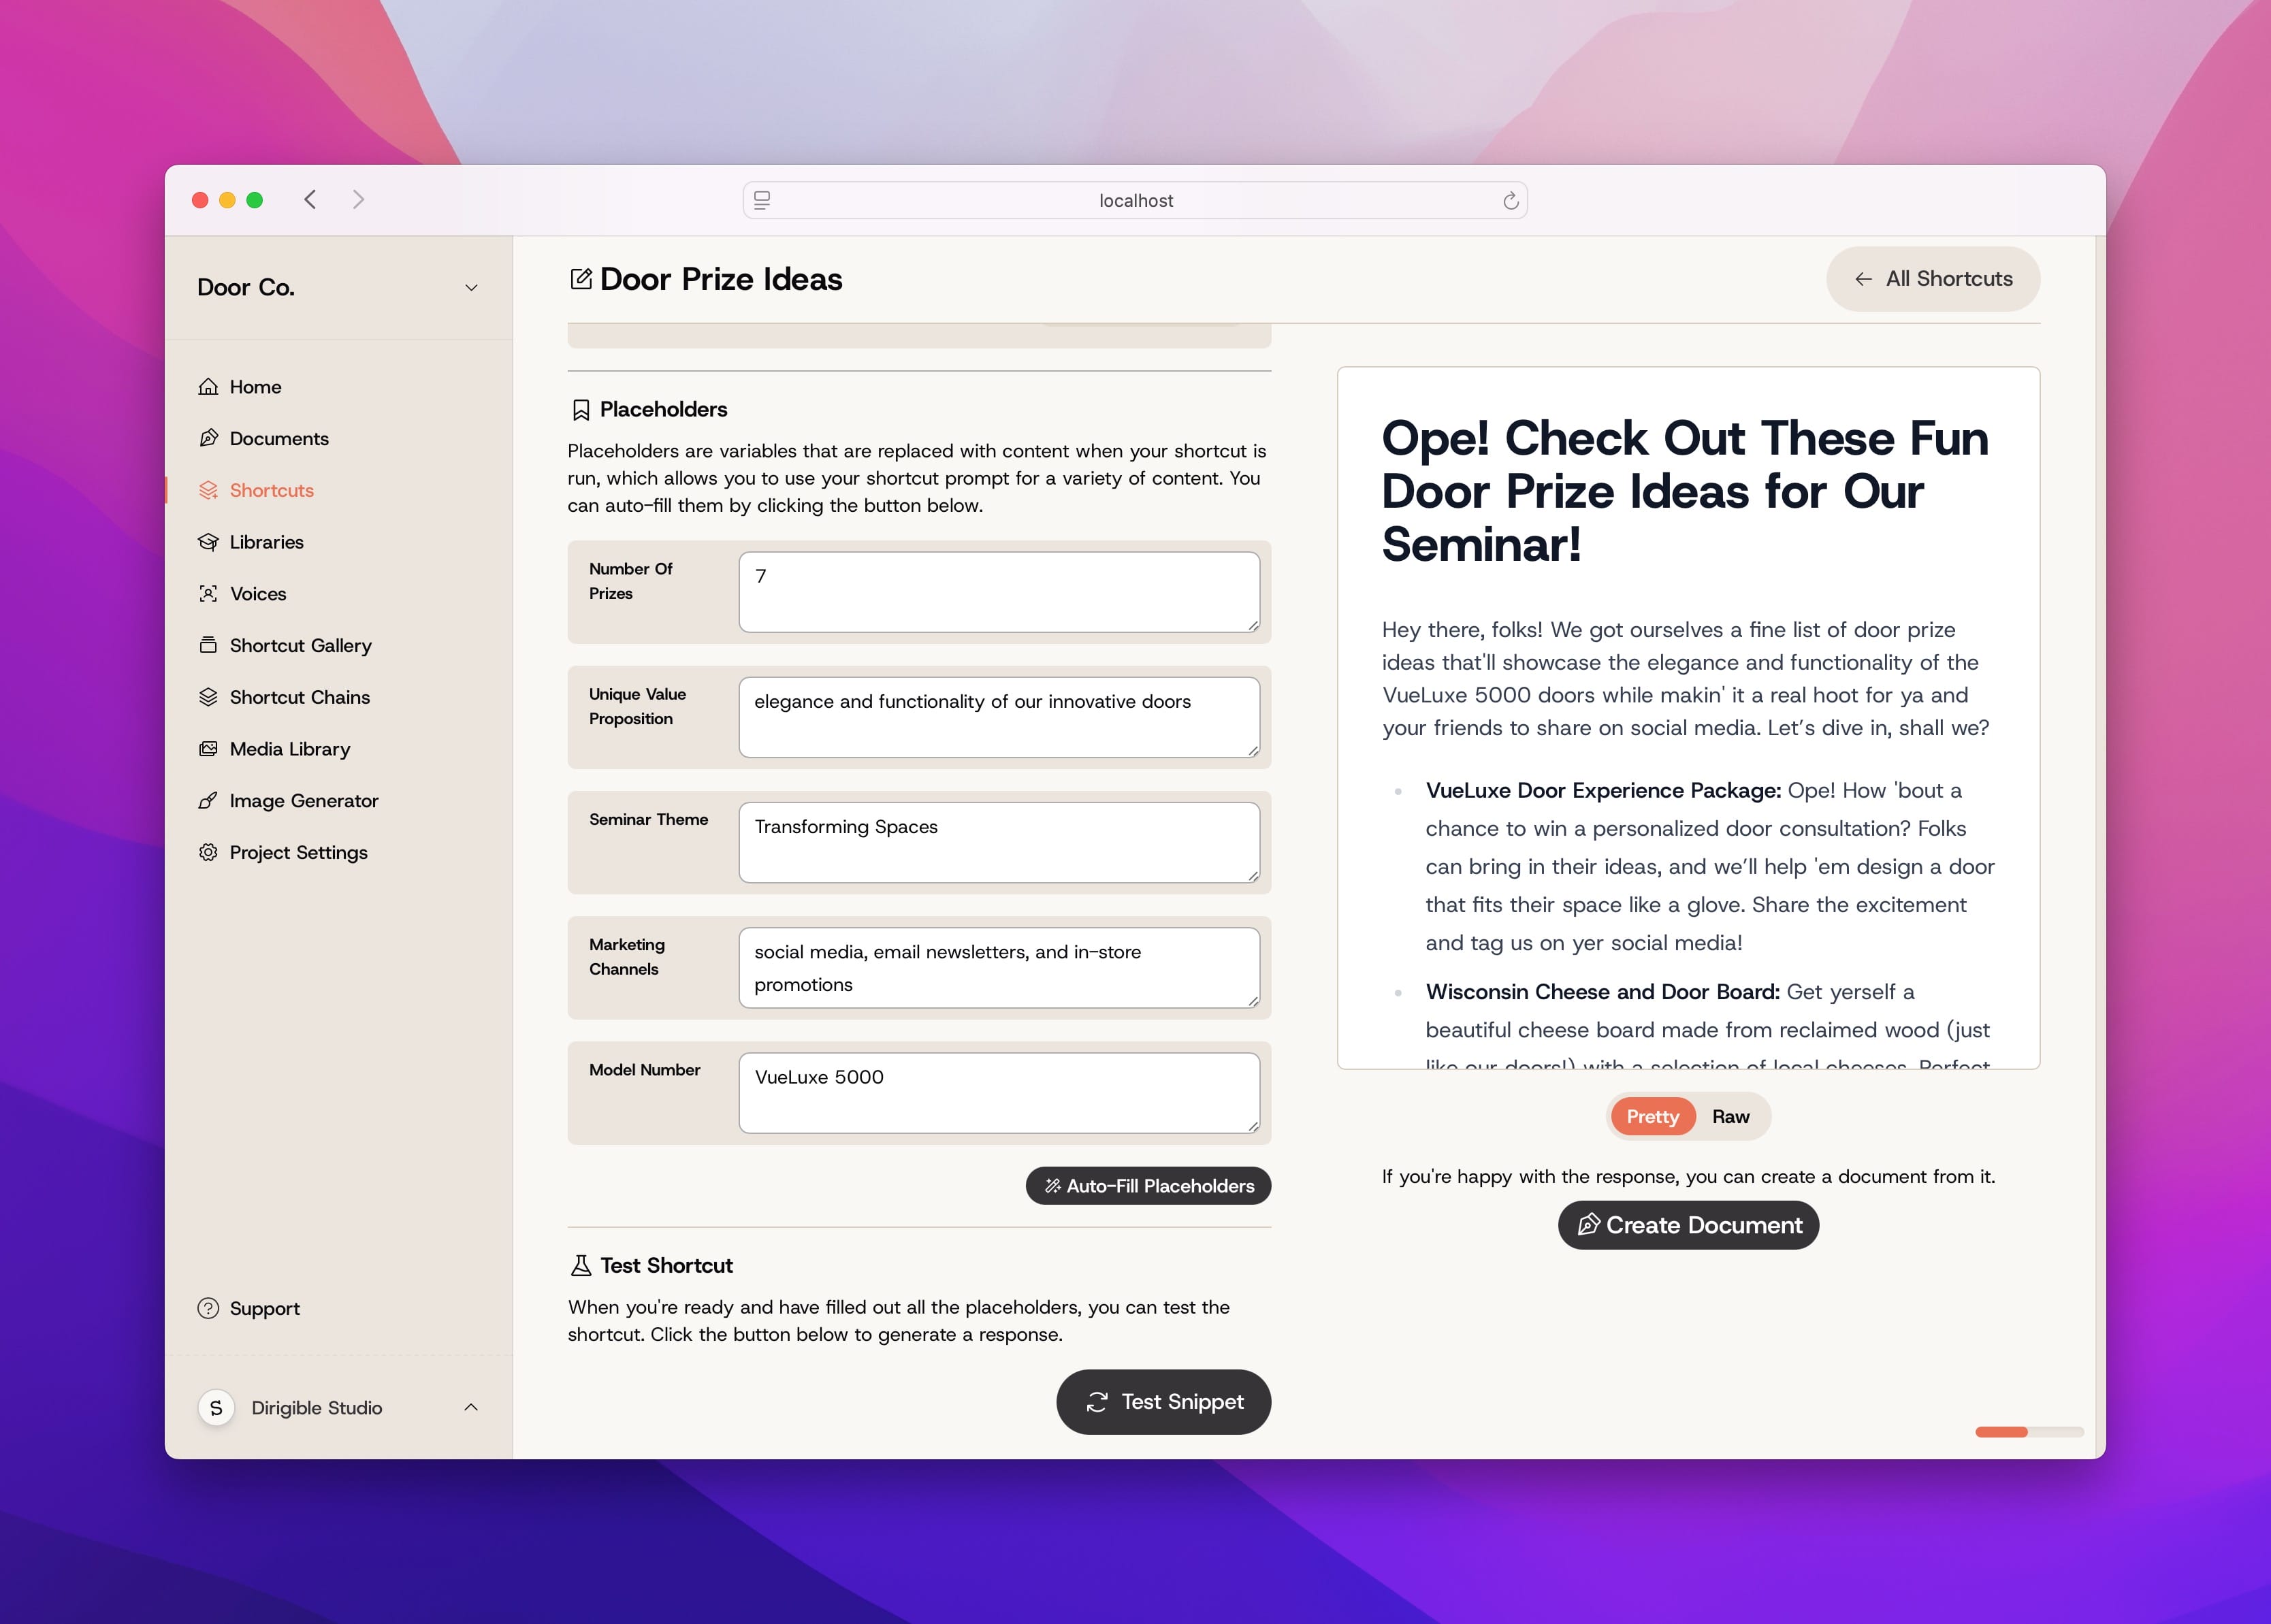
Evaluating Nim’s response
When you test your Shortcut, Nim will write a response and display it in the response area on this page. By default, Nim will display this with some formatting, but you can view the raw HTML generated by clicking the Raw toggle. If you’re happy with the result, you create a Document directly from this response.
If the response isn’t quite what you had in mind, expand on or edit your prompt to include the changes you’d like.
Shortcut Fields
Name
This is for internal use to keep track of your shortcuts. To edit you Shortcut’s name, just click on it and start typing.
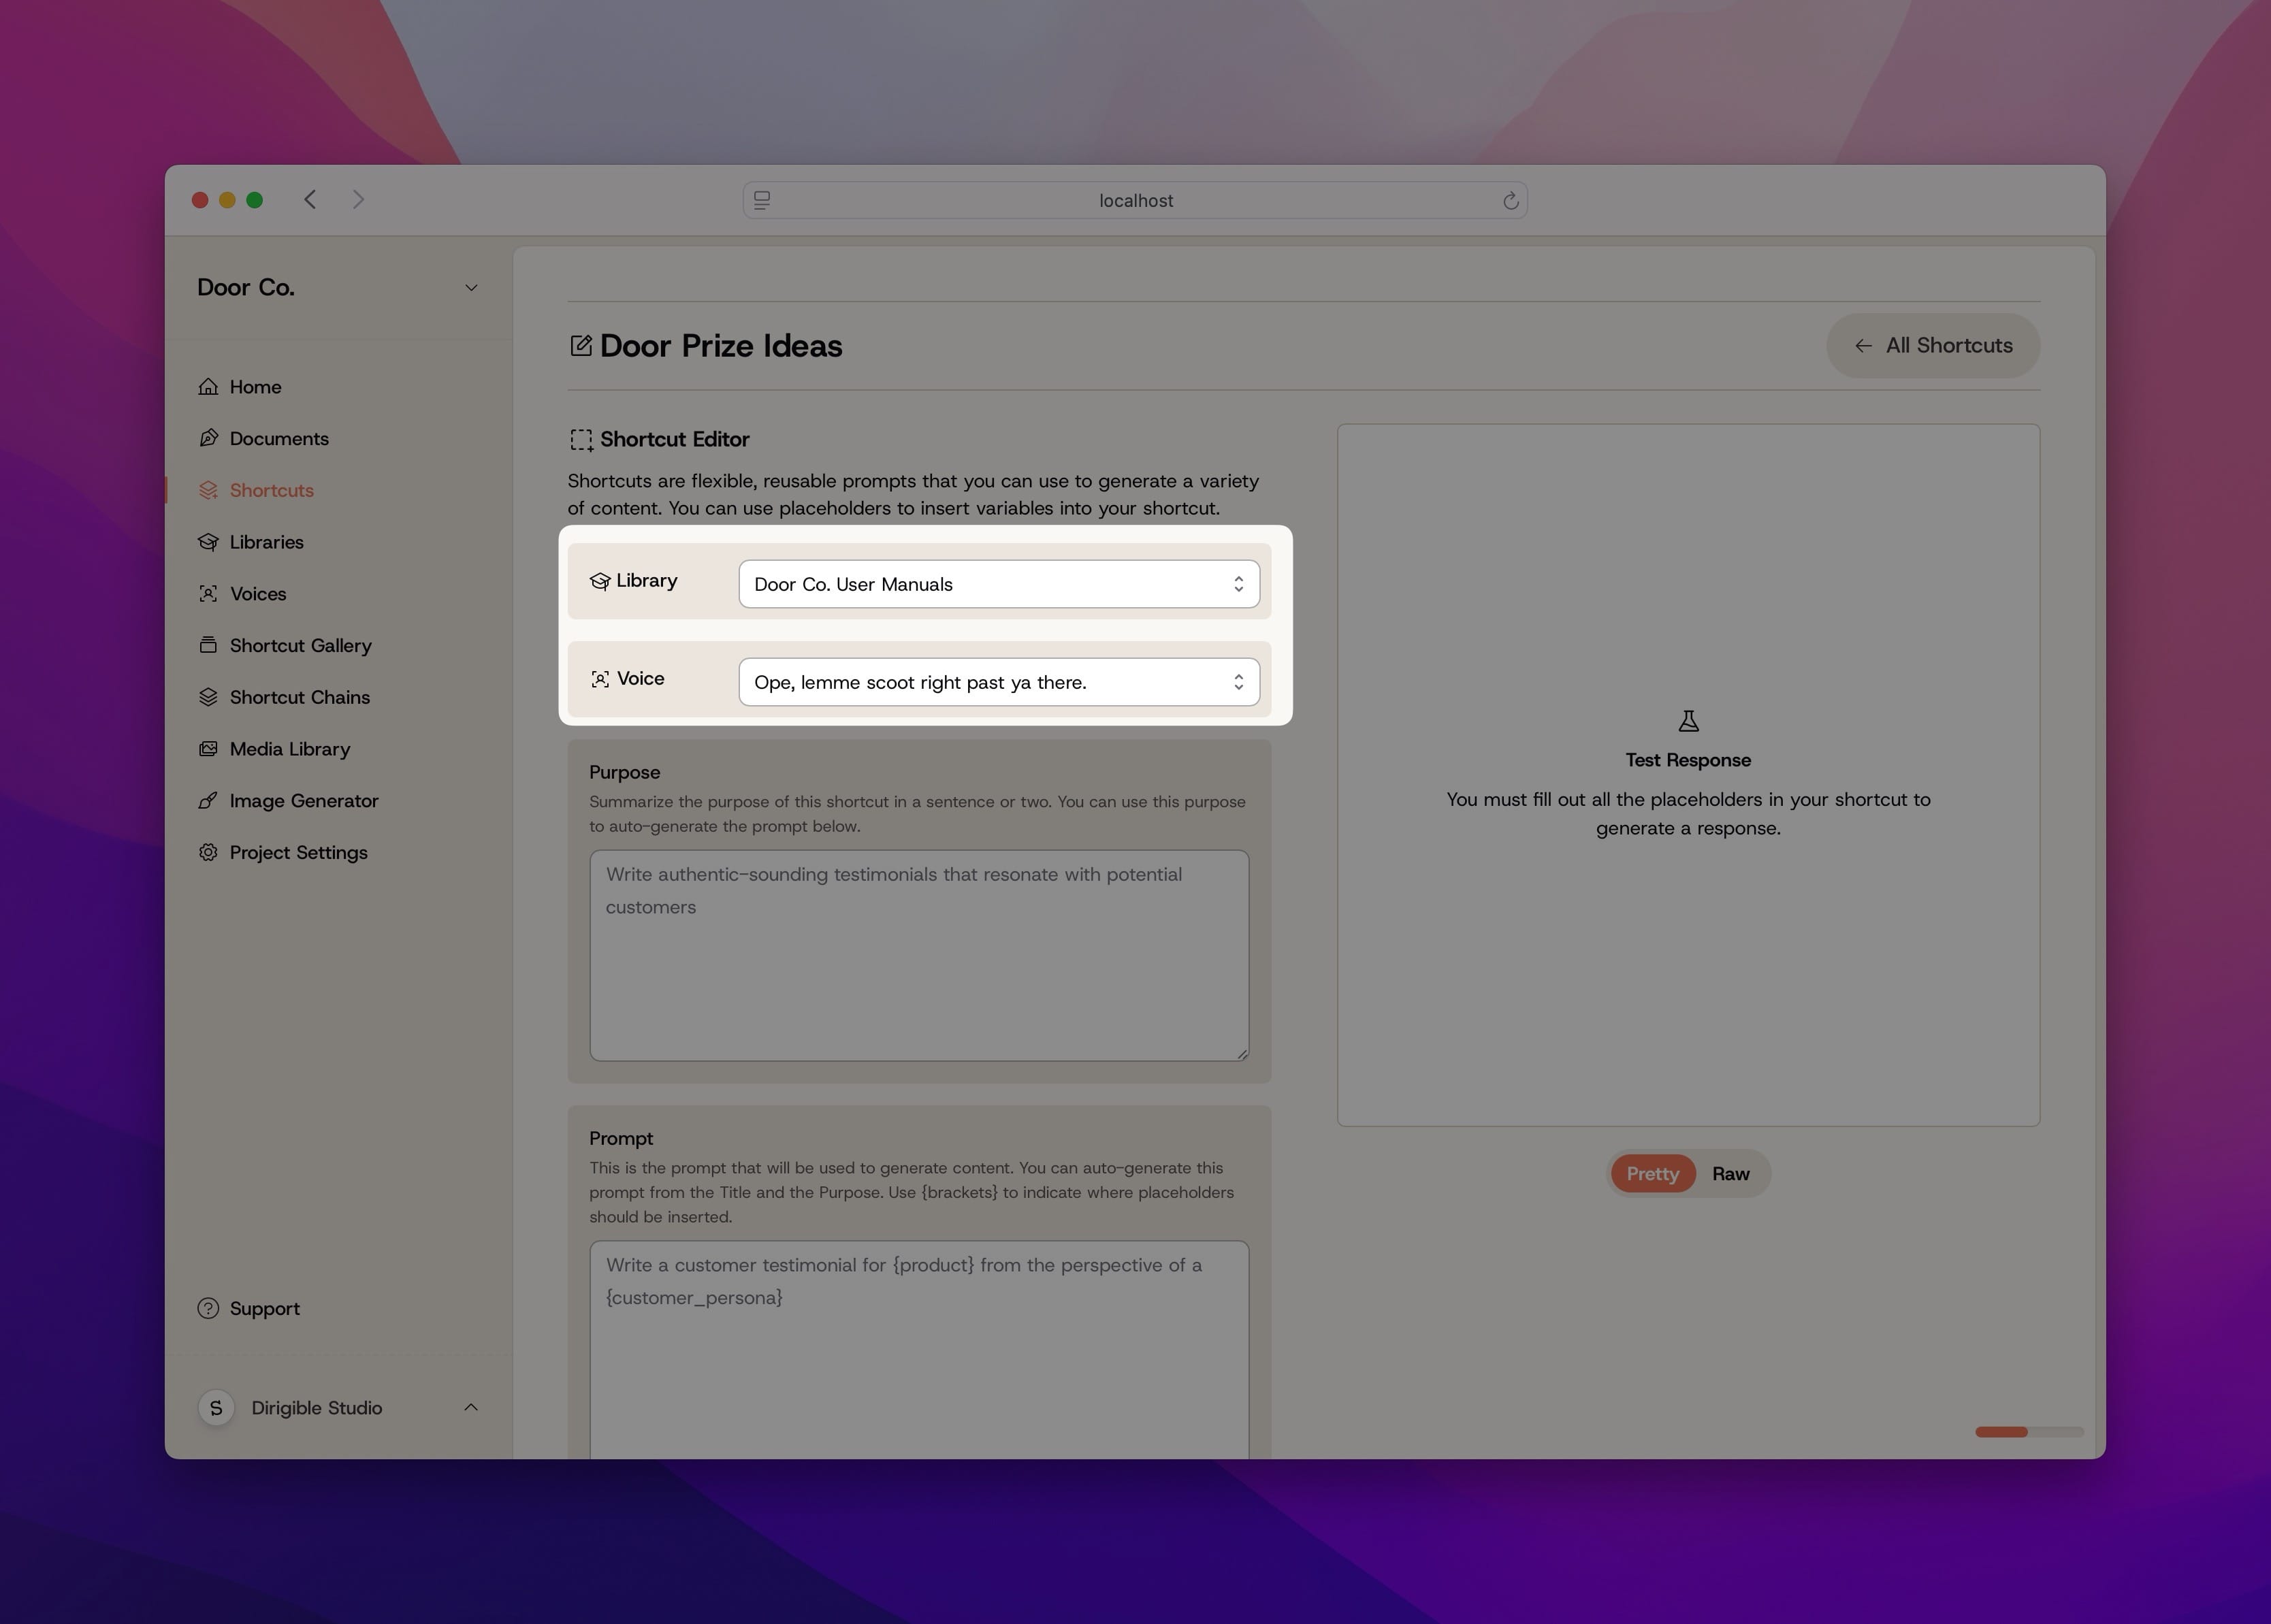
Library
Which Library that Nim should use for context when running this shortcut. If you don’t want to use a Library, leave this blank.
Voice
Which Voice that Nim should use for while writing the response to running this Shortcut. If you don’t want to use any voice in particular, leave this blank.
Purpose
The thesis statement for this prompt, which is used to tell Nim the goal of this prompt and provides context. This can also be used to auto-generate a prompt.
Prompt
The actual prompt that is sent to your LLM of choice when you run this shortcut. This can contain variable Placeholders.
Placeholders
Variables that will be replaced in your prompt on a per-run basis.
Using Shortcuts
Shortcuts can be run directly or used within a Document to Remix the content by running it through a Shortcut.
Running an existing Shortcut
To run a Shortcut, open it by navigating to the Shortcuts page and opening it by clicking the Edit button. From here, you can run your Shortcut by clicking the Test Shortcut button.


Remixing a Document
To use a Shortcut to Remix a document, open up the Document you’d like to remix and click the Remix Content button. You can choose between a Shortcut you’ve created or a Stock Shortcut, which includes Shortcuts from the Shortcut Gallery.
After selecting a Shortcut to use, you can use Magic or Manual remix. Magic remix uses context from the document to auto-fill any Placeholders the Shortcut might contain, but you can use Manual remix to instead specify your Placeholders.
Sending Shortcuts
Have you finally crafted the perfect Shortcut? You can easily send it to any of your projects.

Share the wealth
Clicking the Send to Project button under a Shortcut will open up a dialog box. Select the project you’d like to send this Shortcut to, hit Send, and bask in the glow of productivity.
To provide the best experiences, we use technologies like cookies to store and/or access device information. Consenting to these technologies will allow us to process data such as browsing behavior or unique IDs on this site.